
Getting started
Create a project, import the photos and run reconstruction. When the model is ready, check it in the viewer, save the project and export it in the format you need.
Prerequisites
For the current installers, you need:
- macOS 15.0 (Sequoia) or later
- Apple Silicon (M1 or later) for current installers
- A set of photos covering your subject from multiple angles
- At least 8GB RAM (16GB+ recommended for larger projects)
Quick start guide
Start in the project panel.
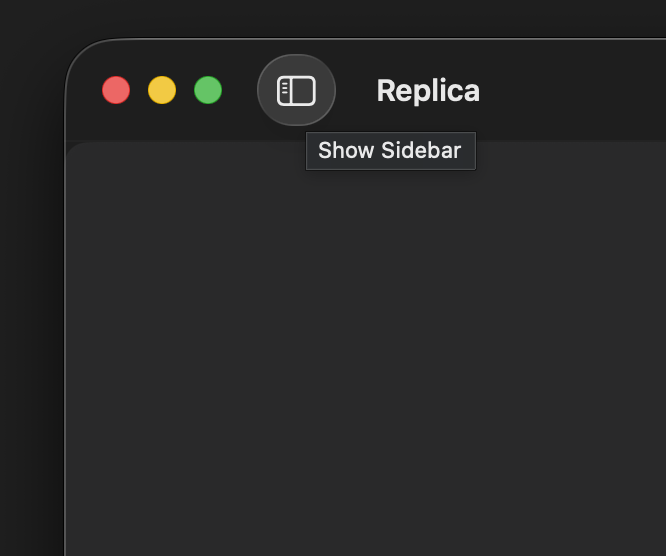
1. Launch Replica and open the project panel
Open the Replica application and expand the project sidebar on the left.
2. Create a new project
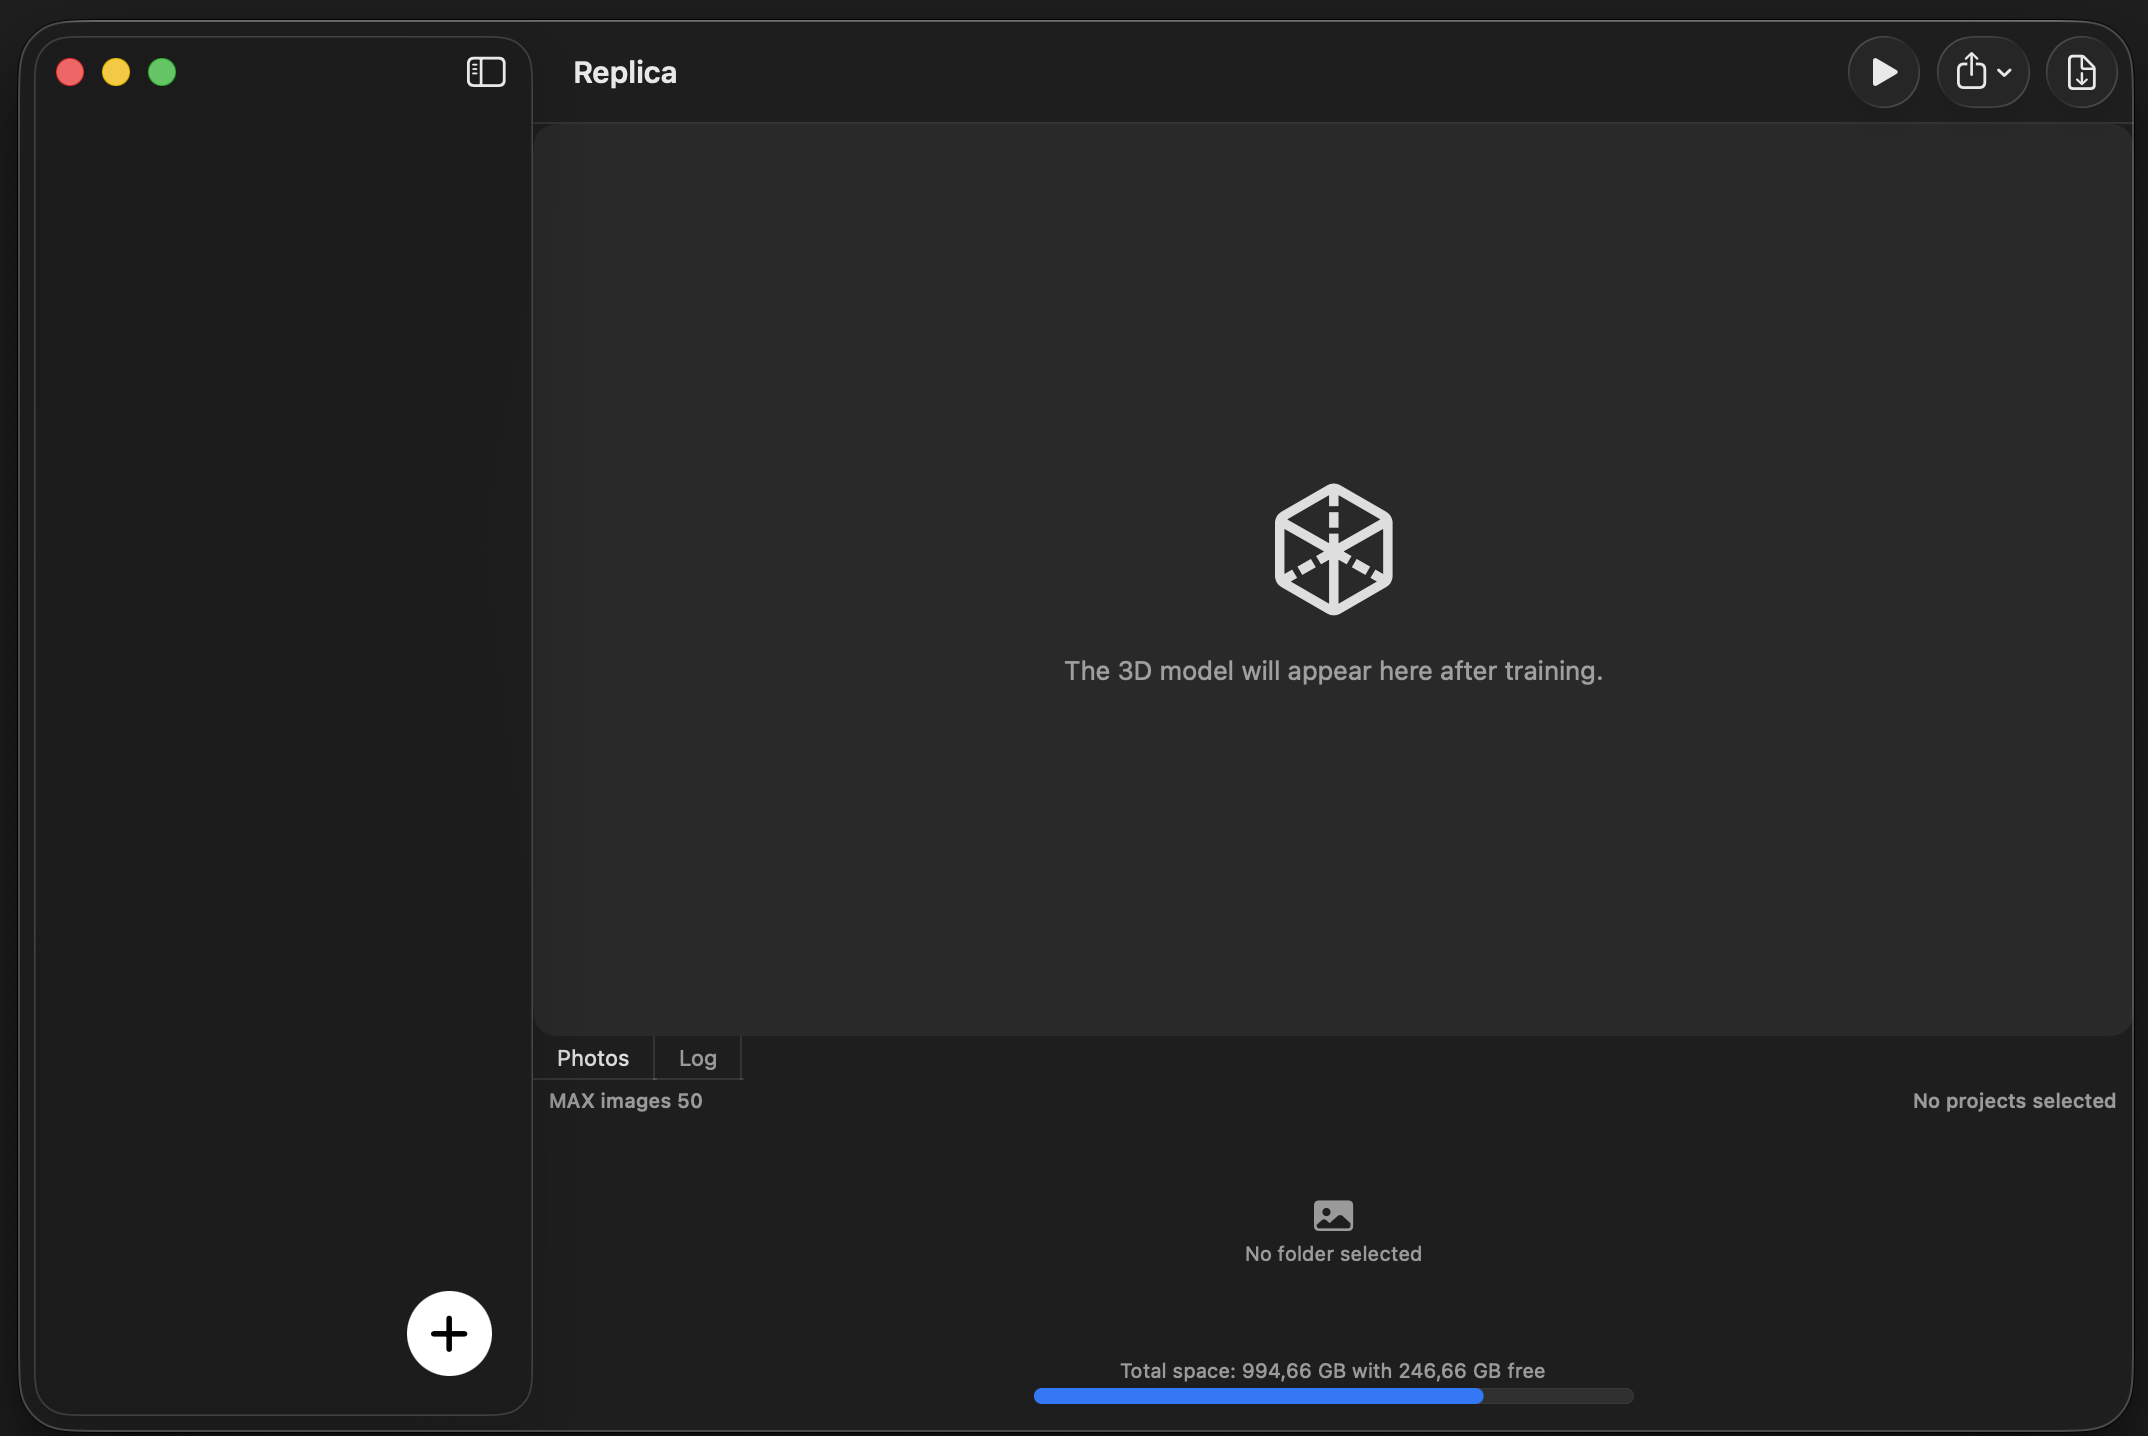
Click + at the bottom of the sidebar to choose what to import.
3. Select your photos
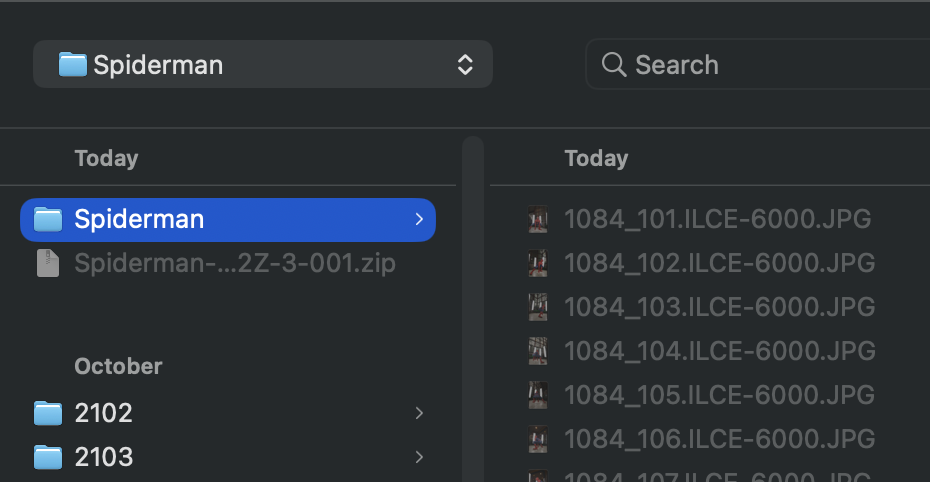
Choose Import Image Folder… and select your photos folder. You can also drag the folder into Replica. For MOV or MP4 input, see Video import and camera tracking.
Free processes up to 50 images per project. Lite and Pro do not have this limit.
For a good reconstruction:
- Use high-resolution images (minimum 1920×1080)
- Ensure 60-80% overlap between consecutive photos
- Maintain consistent lighting across all shots
- Avoid motion blur and out-of-focus images
4. Select your project
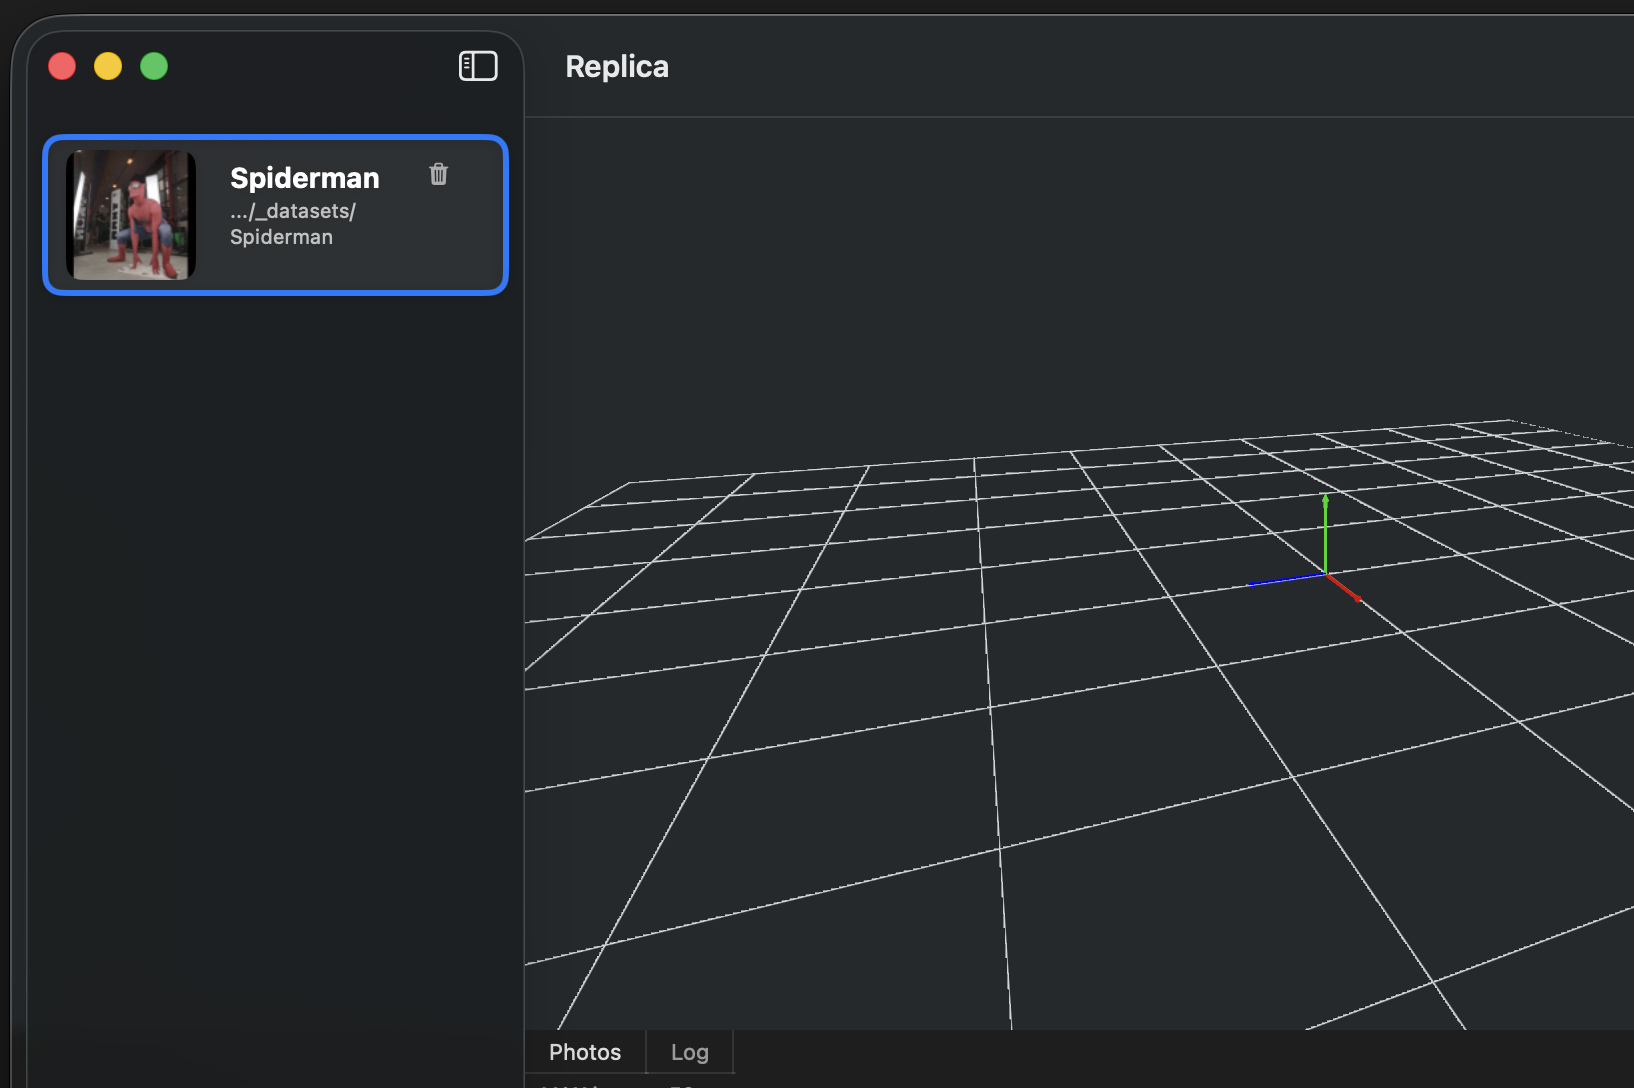
Replica automatically selects a newly added project. Click any other project in the sidebar to switch to it.
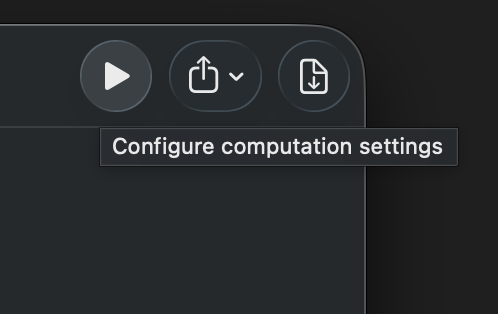
5. Open session configuration
Click Play to open session configuration.
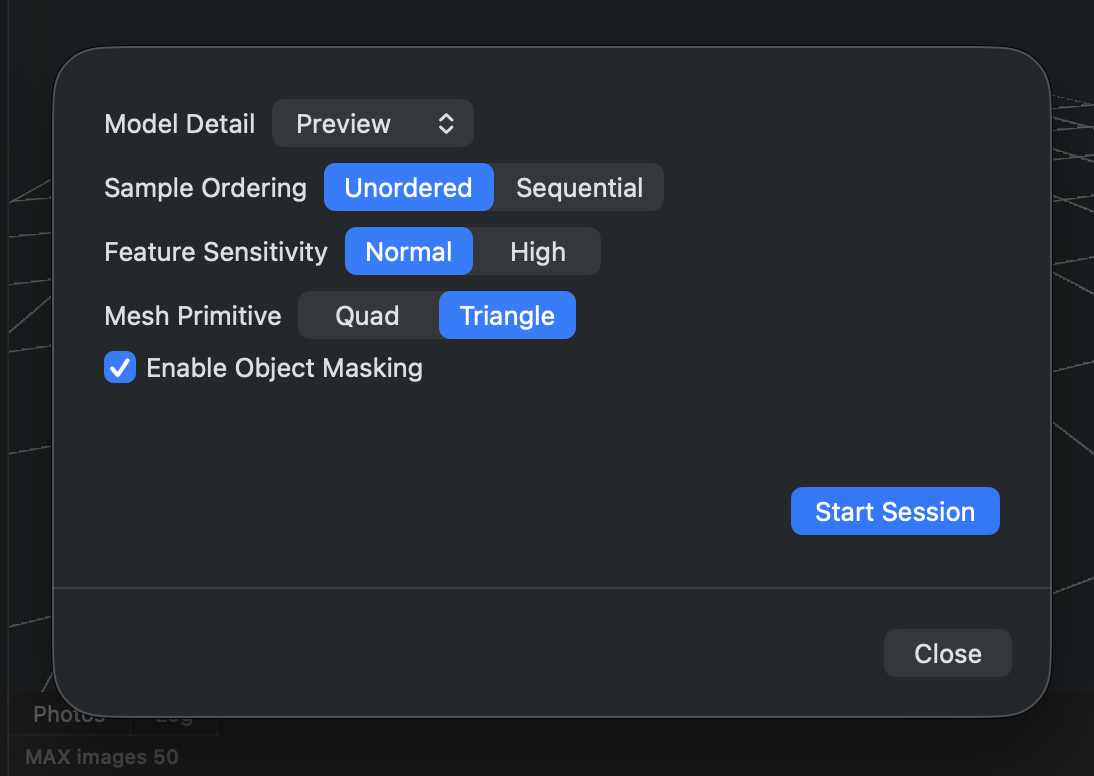
6. Configure and start processing
Choose the settings and click Start Session. From v1.4.1, Replica defaults to Input Loading → Save Memory. Choose Performance if you have enough RAM to keep the decoded images in memory.
Session configuration explains each setting.
Processing time varies depending on:
- Number of images
- Selected quality settings
- Hardware capabilities
- Image resolution
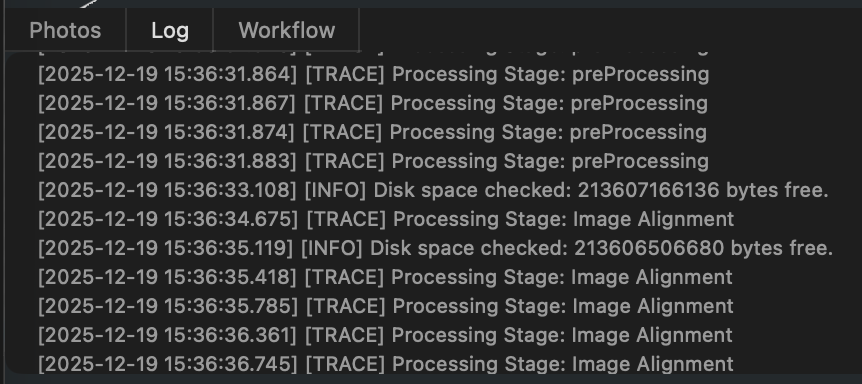
Monitoring Progress:
Follow processing in the Log tab. Replica also keeps the messages in a text file in the project folder, so you can check what happened if a session stops.
7. View your results
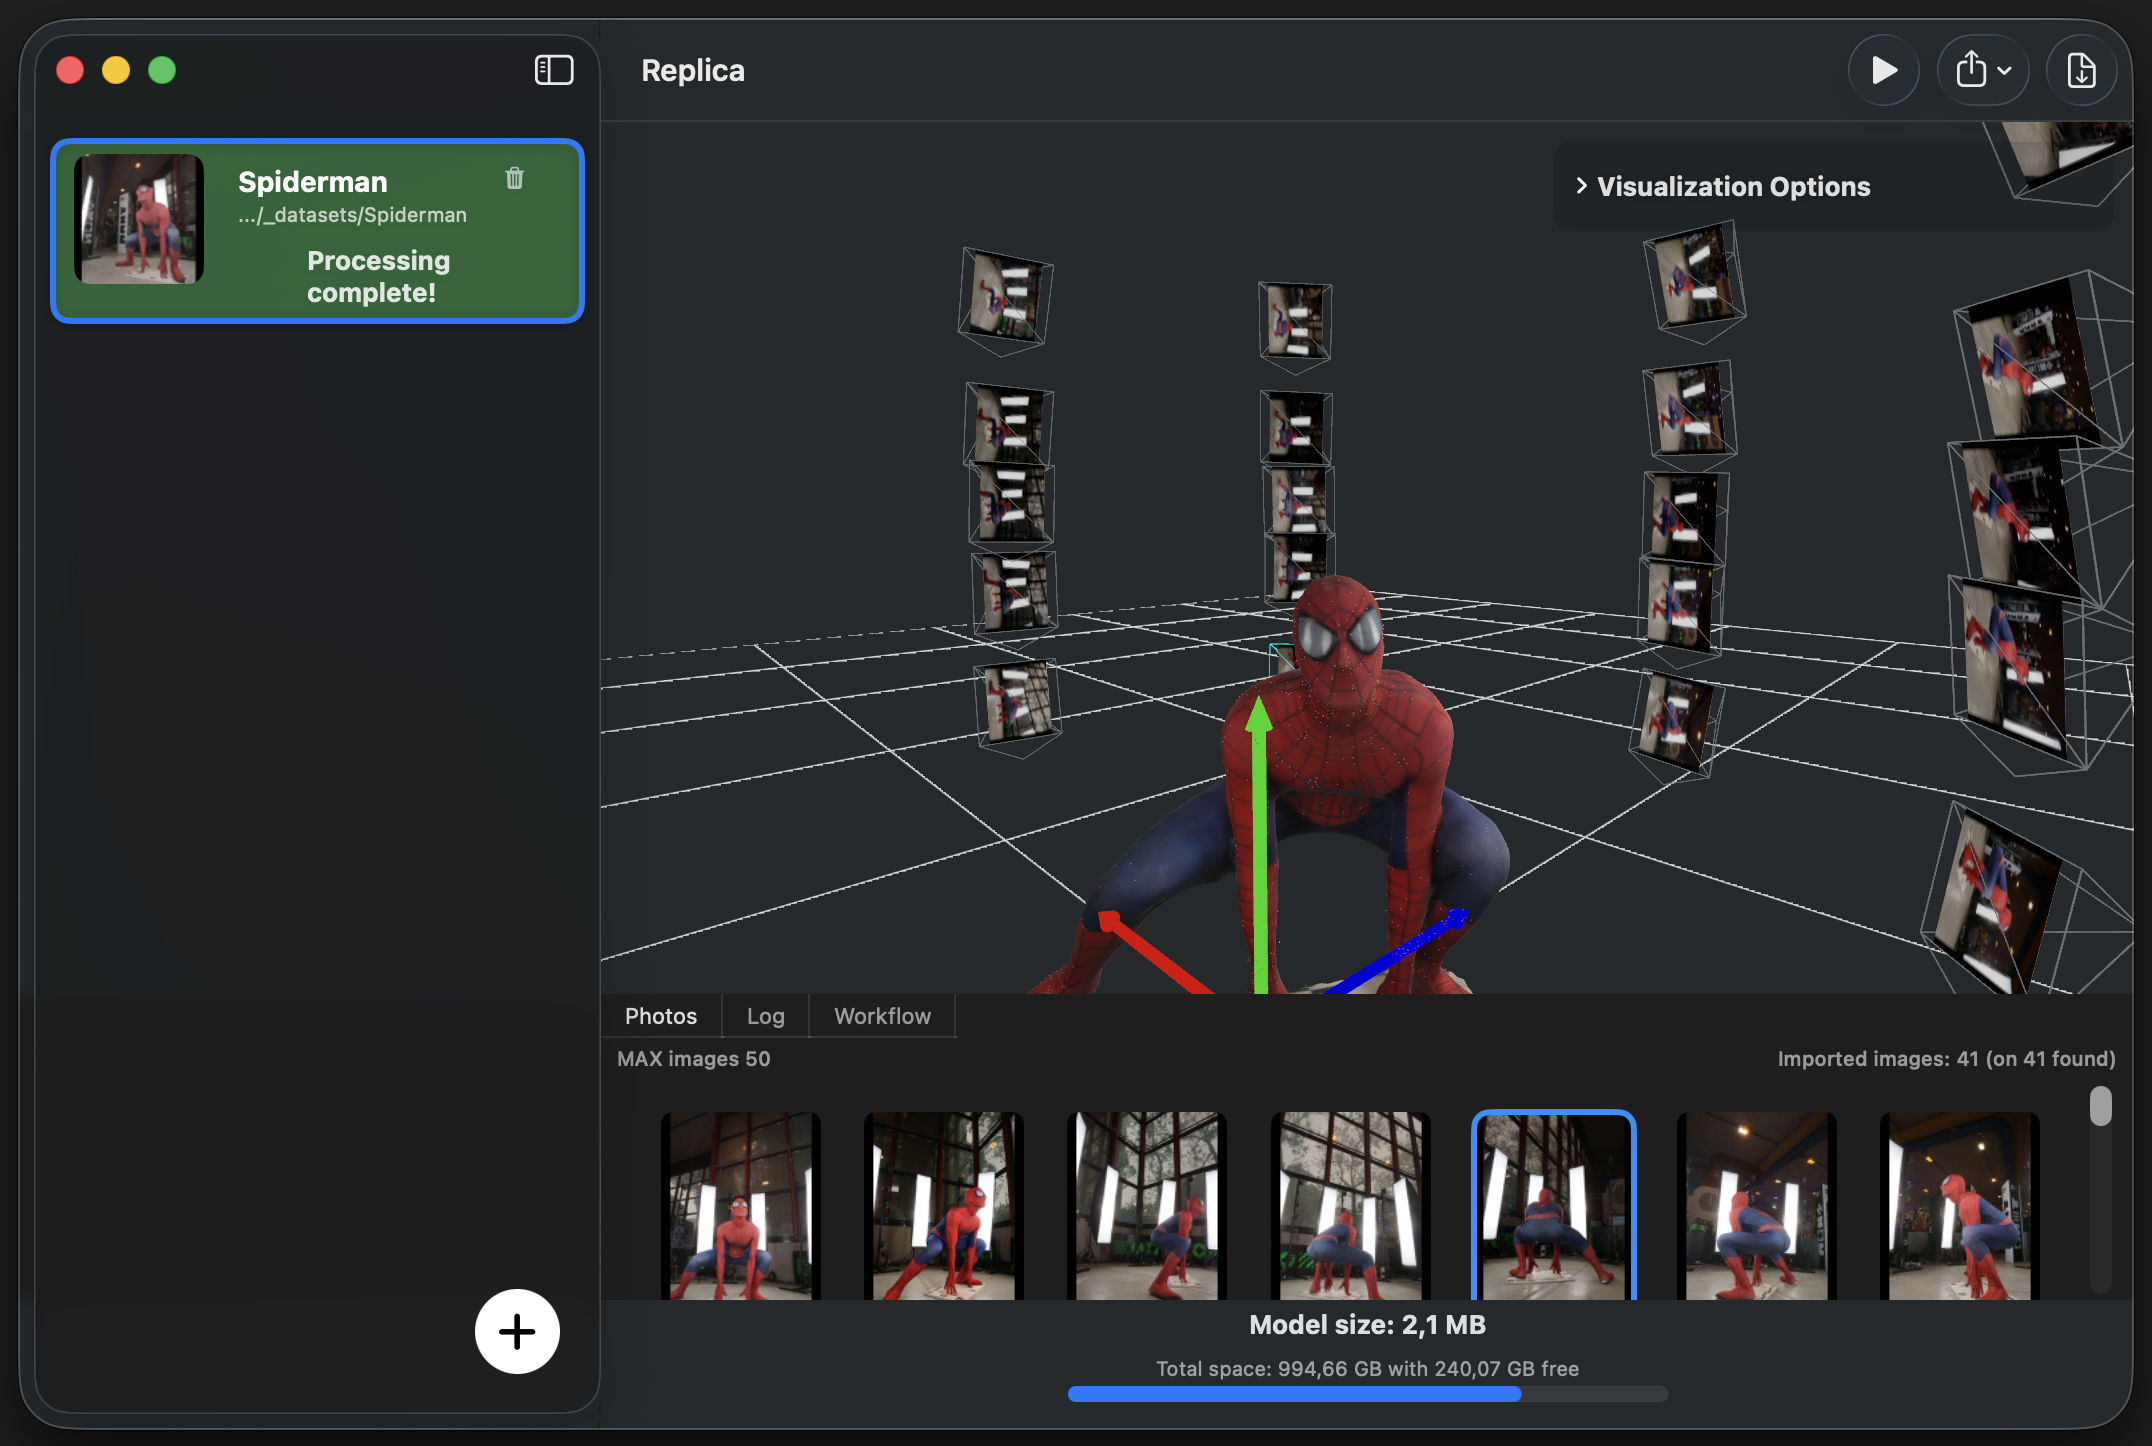
When processing finishes, open the Viewer tab to see the model.
Navigation Controls:
| Action | Control |
|---|---|
| Rotate | Left-click and drag |
| Pan | Shift + Left-click and drag |
| Zoom | Mouse wheel or trackpad pinch |
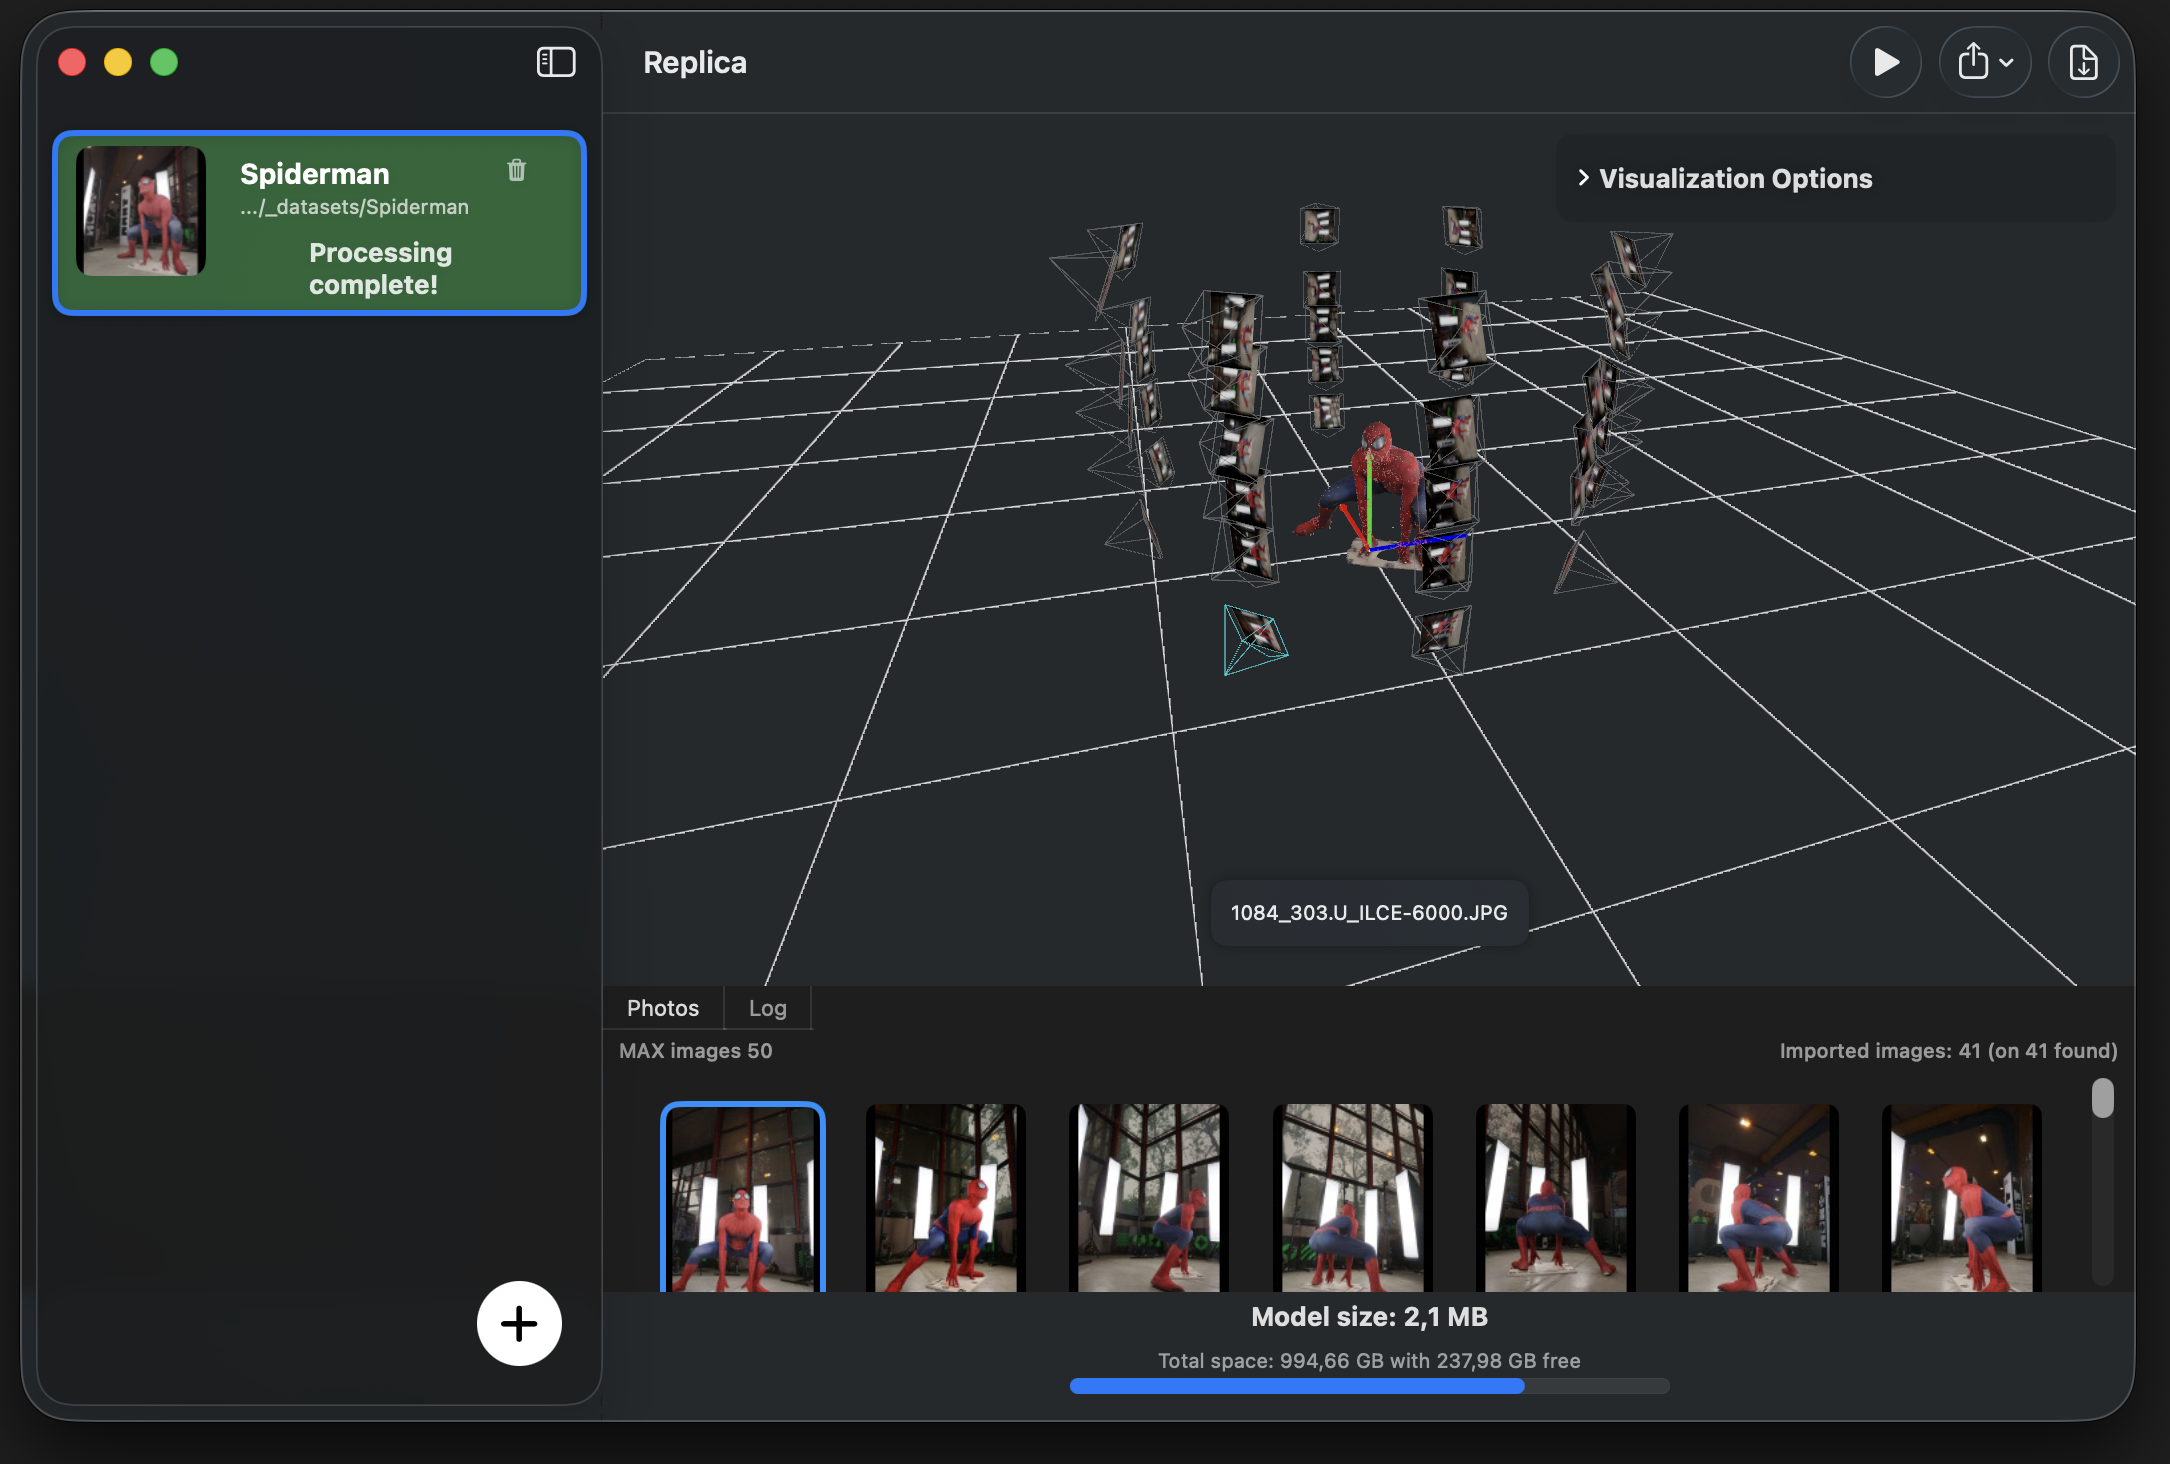
The viewer also lets you inspect cameras and reconstruction components:
-
Camera Position Alignment: Double-click on any camera icon to snap the view to that camera's position and rotation. This is useful for comparing your reconstruction with the original photos.
-
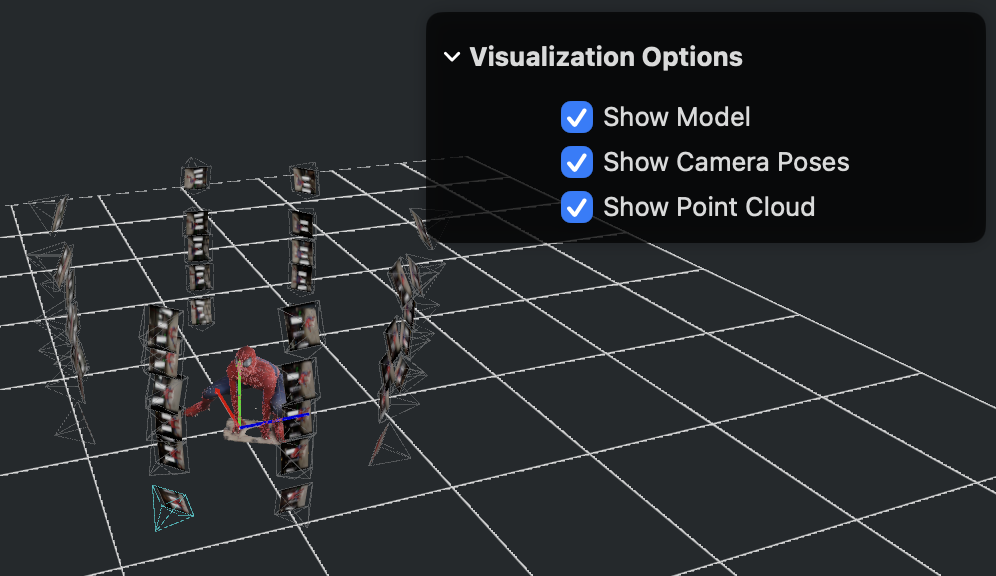
Visibility Controls: Toggle the visibility of different elements using the visualization options menu:
- Model - The final 3D mesh
- Point Cloud - Reconstructed points
- Cameras - Photo capture positions
Save and reopen projects
Save with File → Save Project… (⌘S). Choose a different filename to keep another copy. Each successful save updates File → Open Recent: the file moves to the top without duplicates. The menu keeps the last ten projects.
Reopen a project with File → Open Project… (⌘O) or File → Open Recent. You can also double-click a .replica file in Finder. If macOS opens another app, choose Get Info → Open with → Replica → Change All. Files opened while Replica shows its splash or licence screen load when the main window is ready.
Keep the source photos, video and generated files too. The project needs to find them when you reopen it.
Exporting your model
Choose a format for the application where you will use the model.
Default export (USDZ)
By default, your model is automatically exported as USDZ format in a subfolder next to your source images. USDZ files are:
- Native to Apple devices
- Viewable in AR Quick Look
- Compatible with Reality Composer
- No additional software required
Advanced export formats
To export mesh formats such as OBJ, FBX, GLB and STL, configure Blender. Point-cloud PLY export does not require Blender.
Setting up Blender integration
Replica looks for Blender at its default installation path. If it cannot find it, select the executable in Settings:
-
Open Settings
Access application settings from the top menu bar.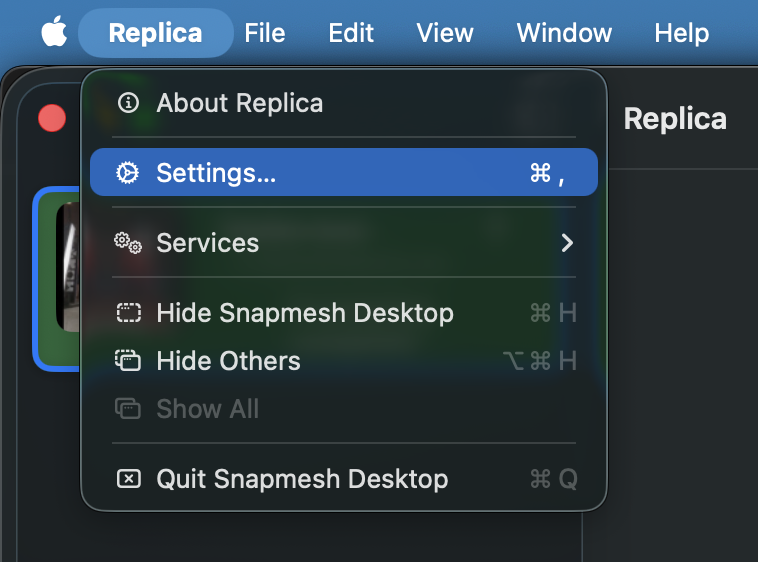
-
Configure Blender Path
Browse to and select your Blender executable location.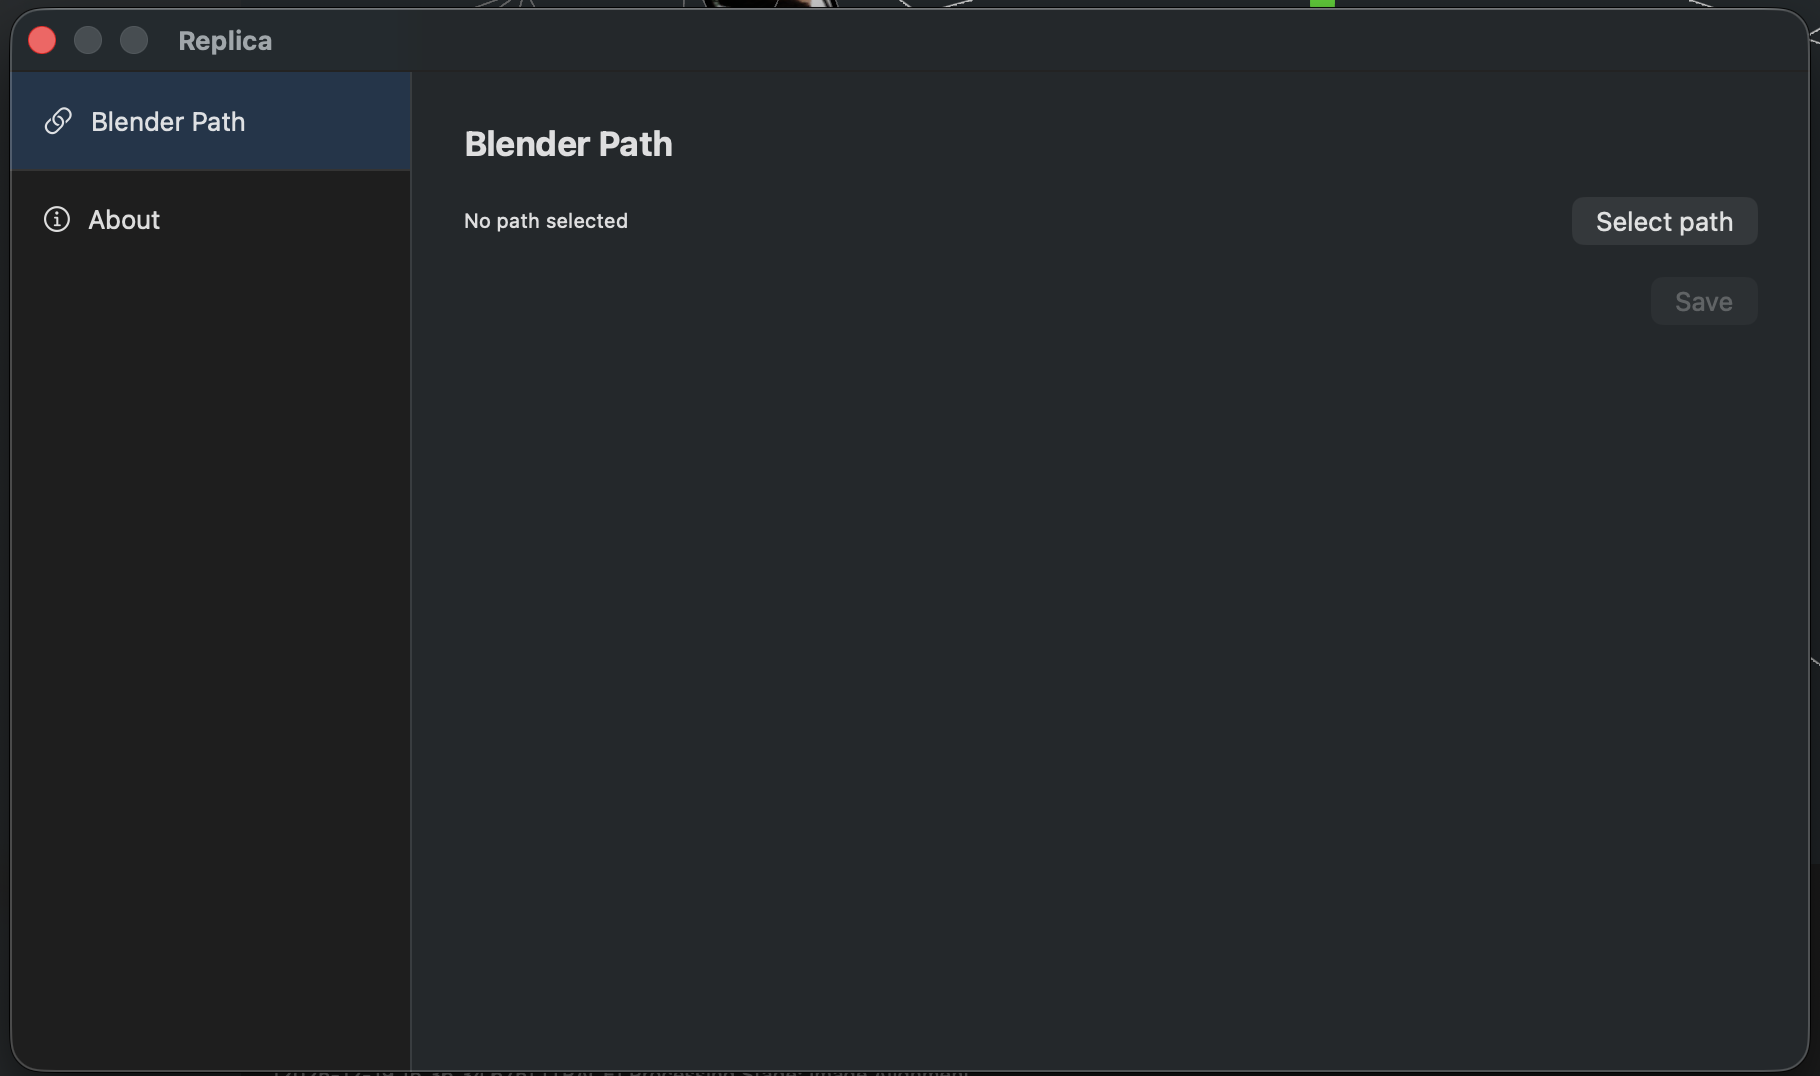
Once Blender is configured, you can export to all supported formats using the Export button:
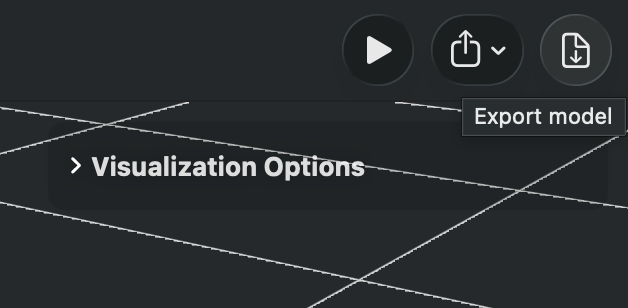
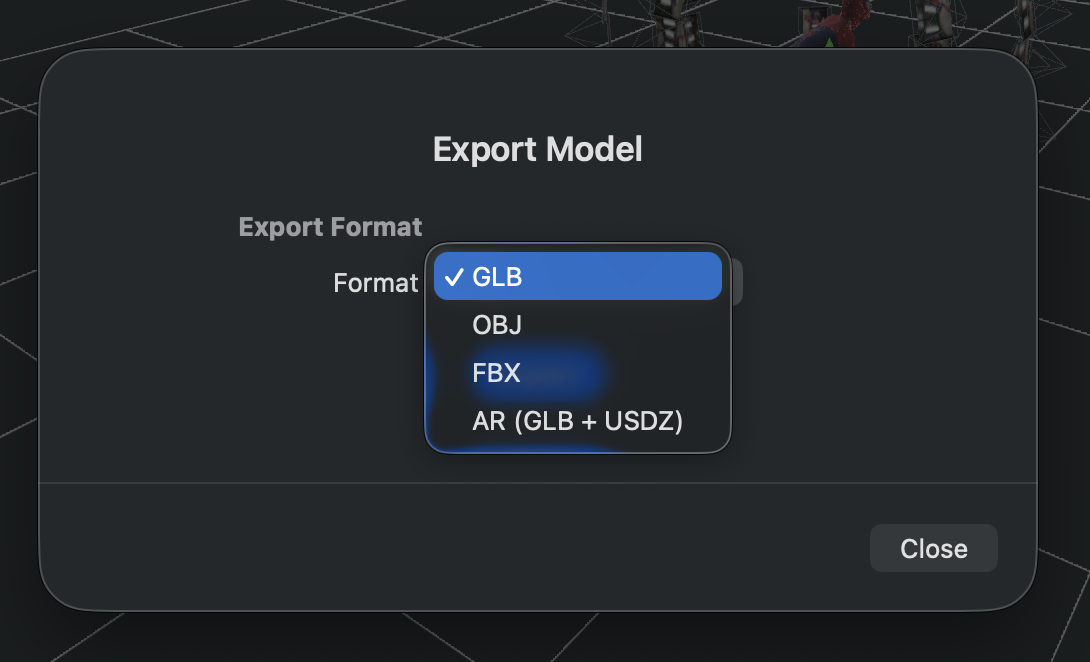
Export Format Guide:
- USDZ - Apple ecosystem, AR applications (default, no Blender needed)
- OBJ - Universal format, widely supported by 3D software
- FBX - Animation-ready, ideal for game engines (Unity, Unreal)
- GLB - Web-optimized, perfect for Three.js and web viewers
- STL - Geometry for slicing and 3D printing; check the importing tool's unit convention
- Point Cloud (PLY) - Reconstructed points with RGB colours, available after the poses/point-cloud phase even before the textured mesh is ready
- COLMAP - Photo cameras, poses, sparse points and rectified images
- USD for VFX - Mesh, calibrated cameras and undistorted plates, with an animated camera for computed video tracks
Troubleshooting
Problem: Processing takes too long
- Try using the "Quick" preset for faster preview
- Reduce the number of input images
- Close other memory-intensive applications
Problem: Model has holes or missing sections
- Ensure adequate photo coverage of all surfaces
- Check that photos have sufficient overlap (60-80%)
- Use consistent lighting to avoid shadows
- Consider re-shooting problematic areas
Problem: Export fails
- Verify Blender is properly installed and the path is correct
- Check that you have sufficient disk space
- Ensure write permissions for the destination folder
Problem: I cannot correctly display the textures of my OBJ file in Blender
- Open the Shader Editor and locate the Normal Map node.
- Change the calculation method in the dropdown menu from "Tangent Space" to "Object Space".
Next steps
To continue:
-
Session configuration: choose quality presets, mesh settings, textures and memory options.
-
Workflows (Pro): automate rotation, scaling, offsets and other steps before export.
-
Refine Operations (Pro users only) - Align the model with GPS references or scale it using real measurements and AprilTag bars.
Need help?
Ask for help and compare results with other users in the Replica community.
Include the project log when asking about a failed session.