Per Iniziare
Benvenuto su Replica! Questa guida ti accompagnerà nella creazione del tuo primo progetto di fotogrammetria dall'inizio alla fine.
Prerequisiti
Prima di iniziare, assicurati di avere:
- macOS 12.0 (Monterey) o successivo
- Apple Silicon (M1, M2, M3) raccomandato per prestazioni ottimali
- Un set di foto che coprano il soggetto da più angolazioni
- Almeno 8GB di RAM (16GB+ raccomandati per progetti più grandi)
Guida Rapida
Segui questi passaggi per creare il tuo primo modello 3D:
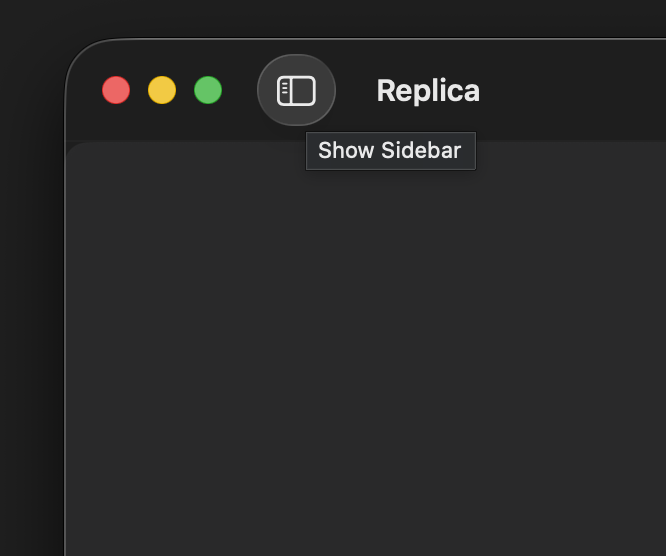
1. Avvia Replica e Apri il Pannello Progetti
Apri l'applicazione Replica ed espandi la barra laterale dei progetti sulla sinistra.
2. Crea un Nuovo Progetto
Clicca il pulsante + in fondo alla barra laterale per creare un nuovo progetto.
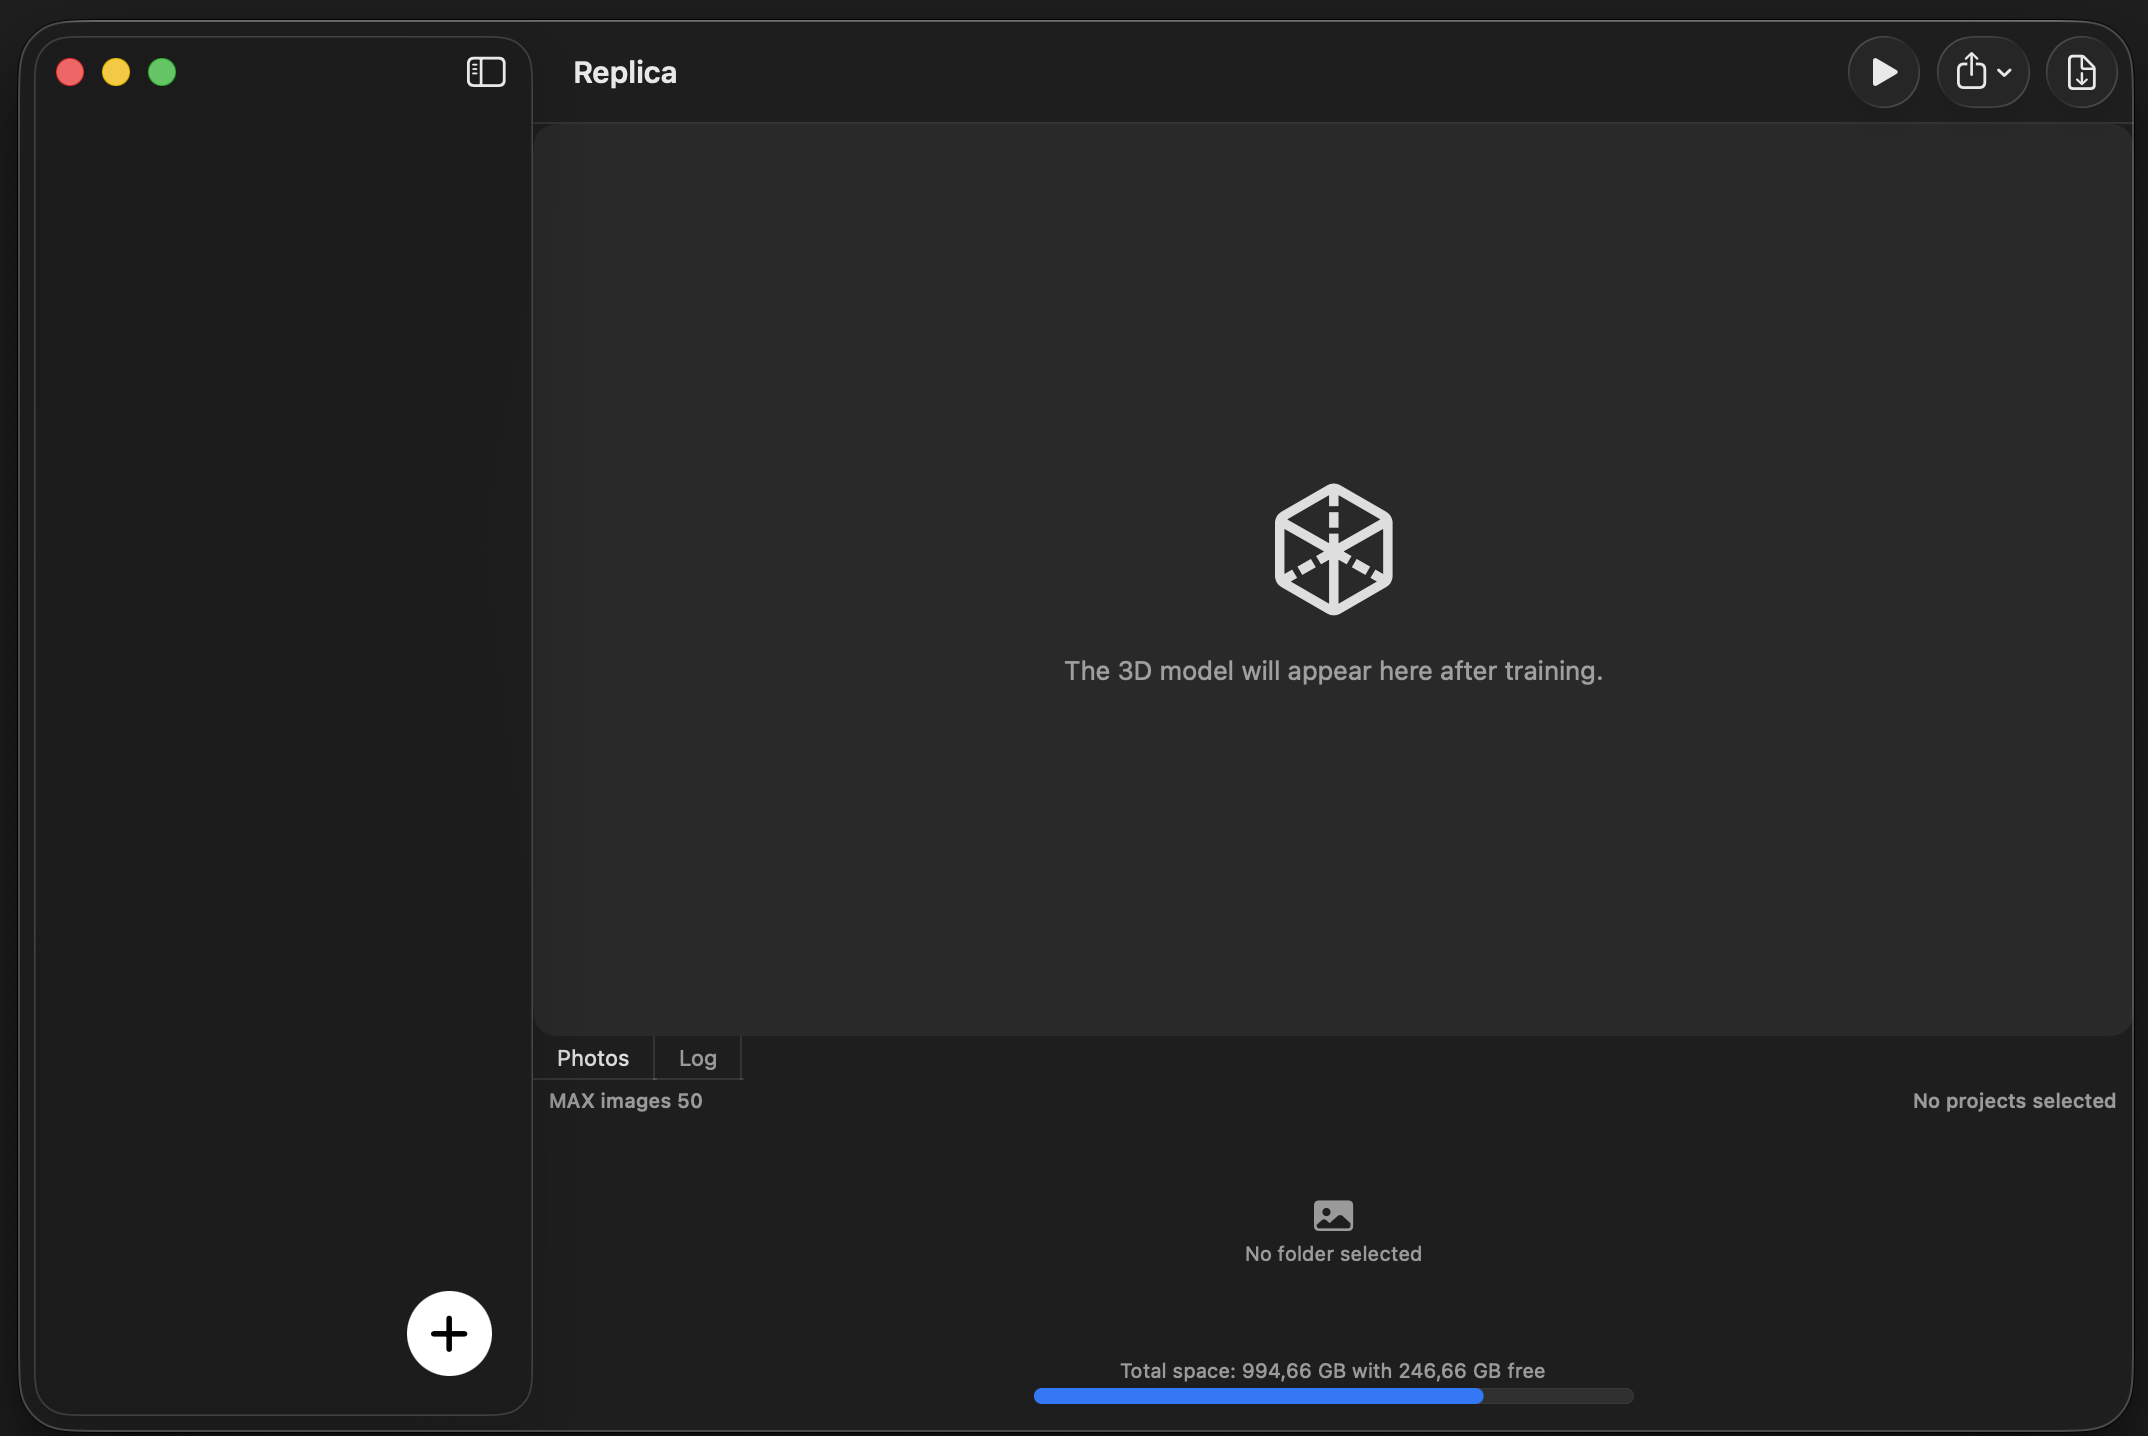
3. Seleziona le Tue Foto
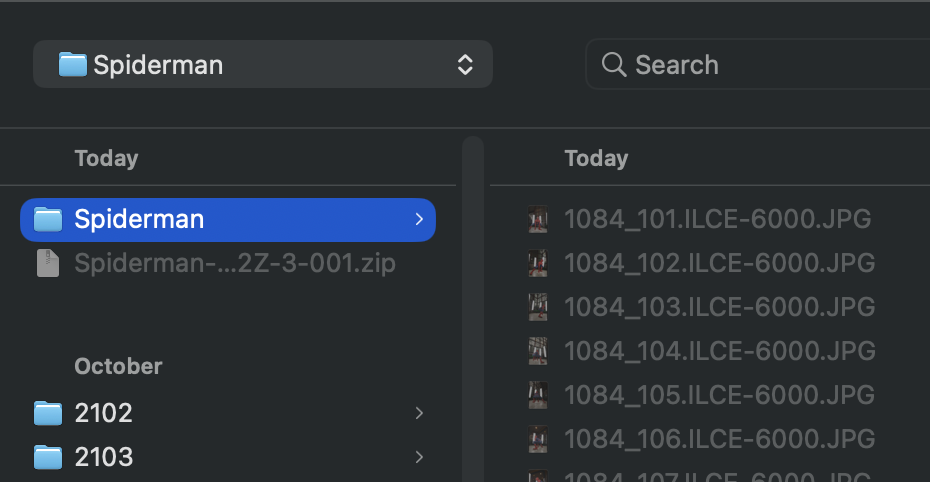
Scegli una cartella contenente le tue immagini per la fotogrammetria.
Importante: Nella versione gratuita, verranno processate un massimo di 50 immagini. Per dataset più grandi, considera l'aggiornamento alla versione completa.
Consigli per i migliori risultati:
- Usa immagini ad alta risoluzione (minimo 1920×1080)
- Assicura una sovrapposizione del 60-80% tra foto consecutive
- Mantieni un'illuminazione costante in tutti gli scatti
- Evita sfocature da movimento e immagini fuori fuoco
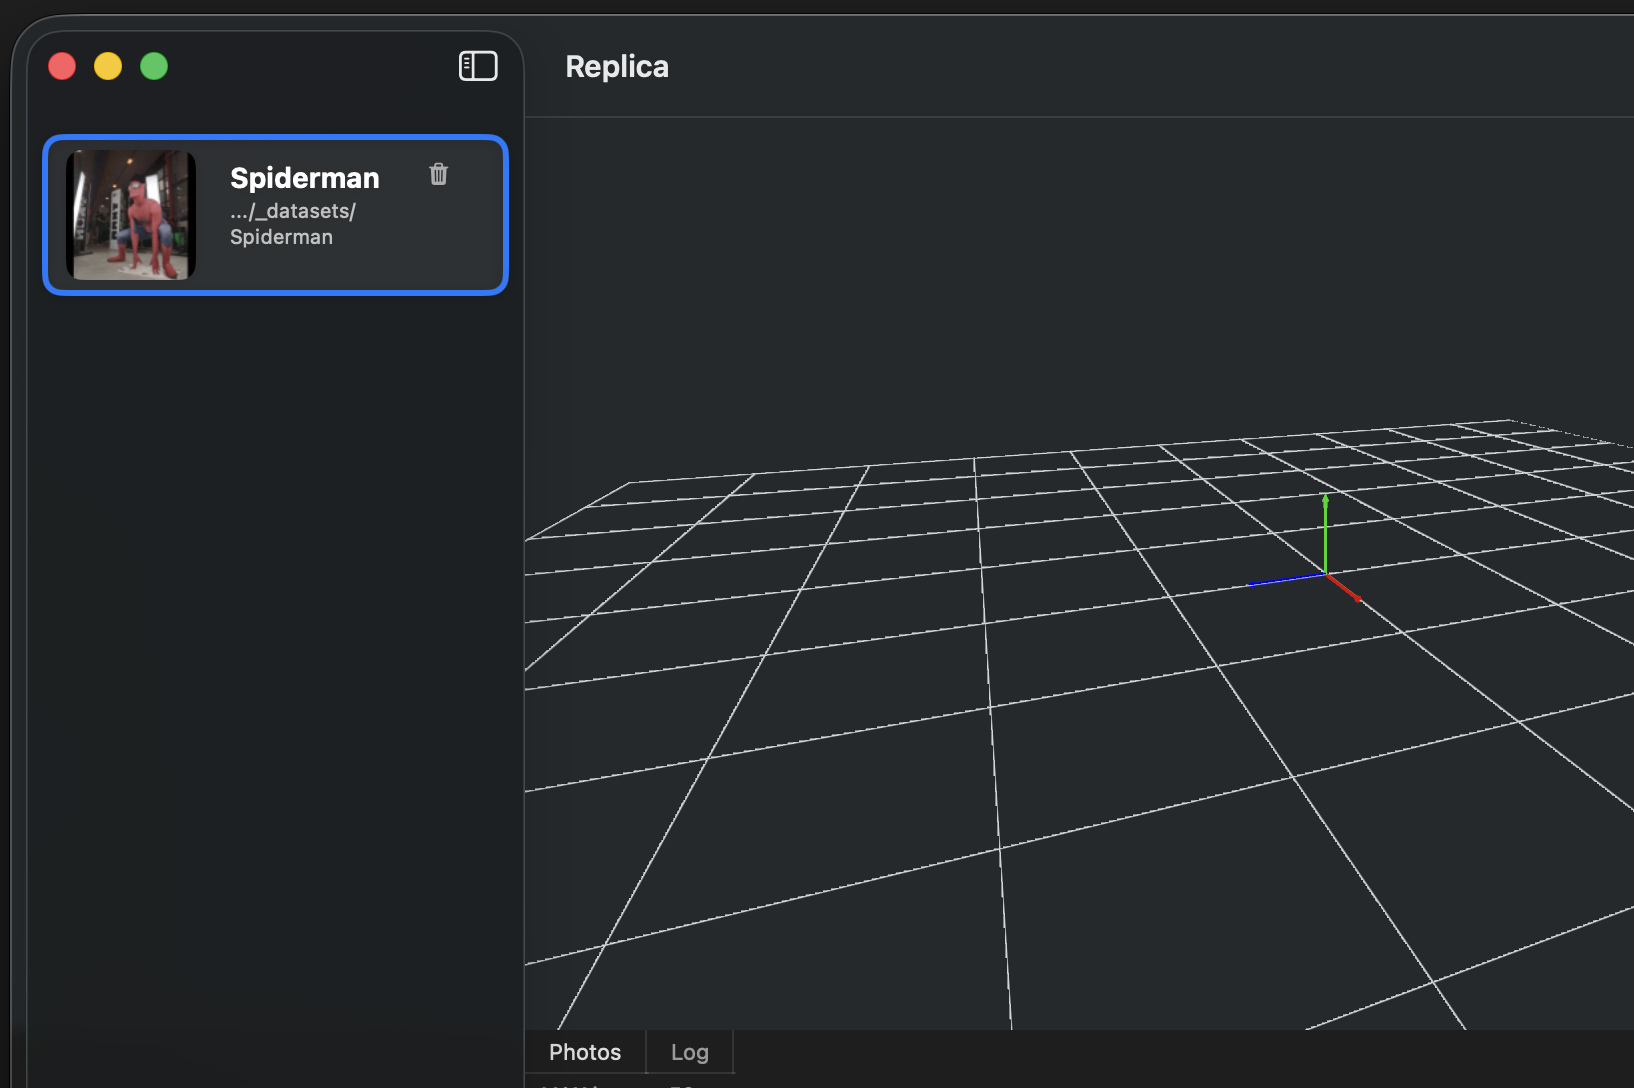
4. Seleziona il Tuo Progetto
Clicca sul progetto appena creato nella barra laterale per attivarlo.
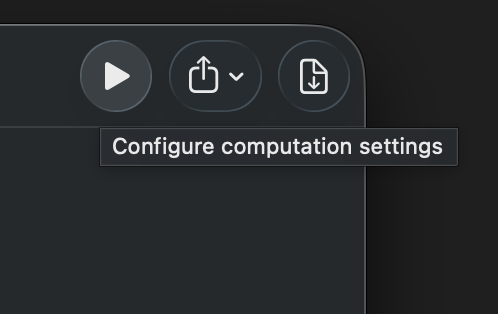
5. Apri la Configurazione della Sessione
Clicca il pulsante Play per aprire il pannello di configurazione della sessione.
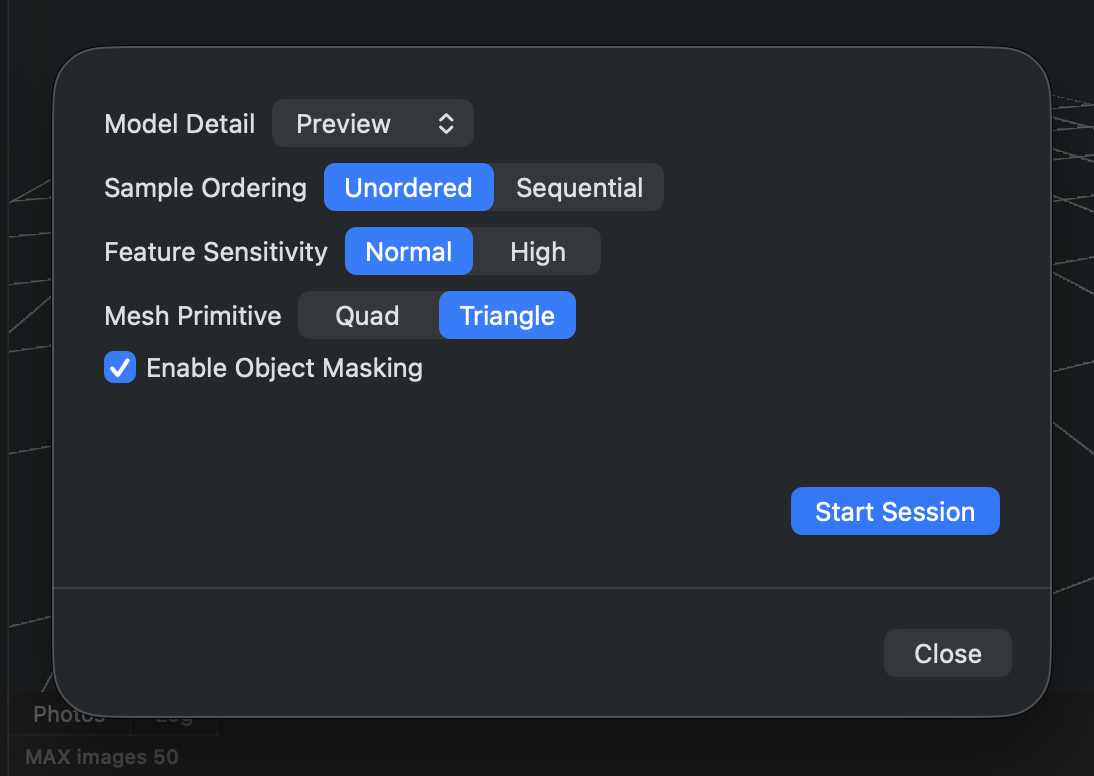
6. Configura e Avvia l'Elaborazione
Regola le impostazioni della sessione in base alle tue esigenze, quindi clicca Start Session per iniziare l'elaborazione.
Per informazioni dettagliate sulle opzioni di configurazione, vedi la guida Configurazione della Sessione.
Il tempo di elaborazione varia a seconda di:
- Numero di immagini
- Impostazioni di qualità selezionate
- Capacità hardware
- Risoluzione delle immagini
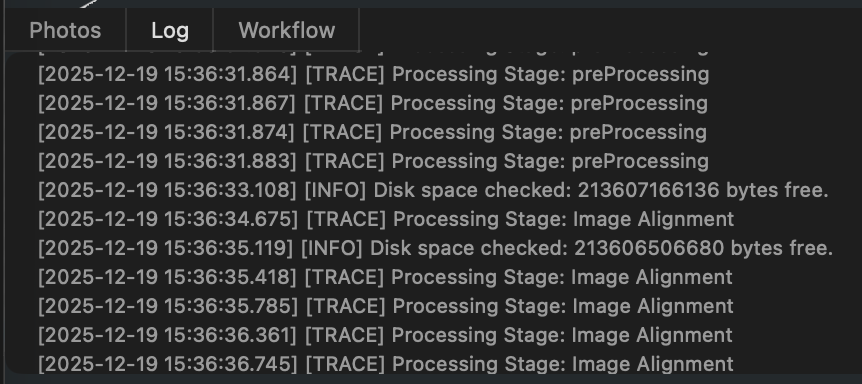
Monitoraggio del Progresso:
Durante l'elaborazione, puoi monitorare lo stato e verificare eventuali problemi nella scheda Log. In caso di problemi, i log dettagliati vengono salvati sia nell'applicazione che come file di testo nella cartella del progetto per la risoluzione dei problemi.
7. Visualizza i Tuoi Risultati
Una volta completata l'elaborazione, il tuo modello 3D apparirà nella scheda Viewer.
Controlli di Navigazione:
| Azione | Controllo |
|---|---|
| Ruota | Click sinistro e trascina |
| Pan | Shift + Click sinistro e trascina |
| Zoom | Rotella del mouse o pizzico sul trackpad |
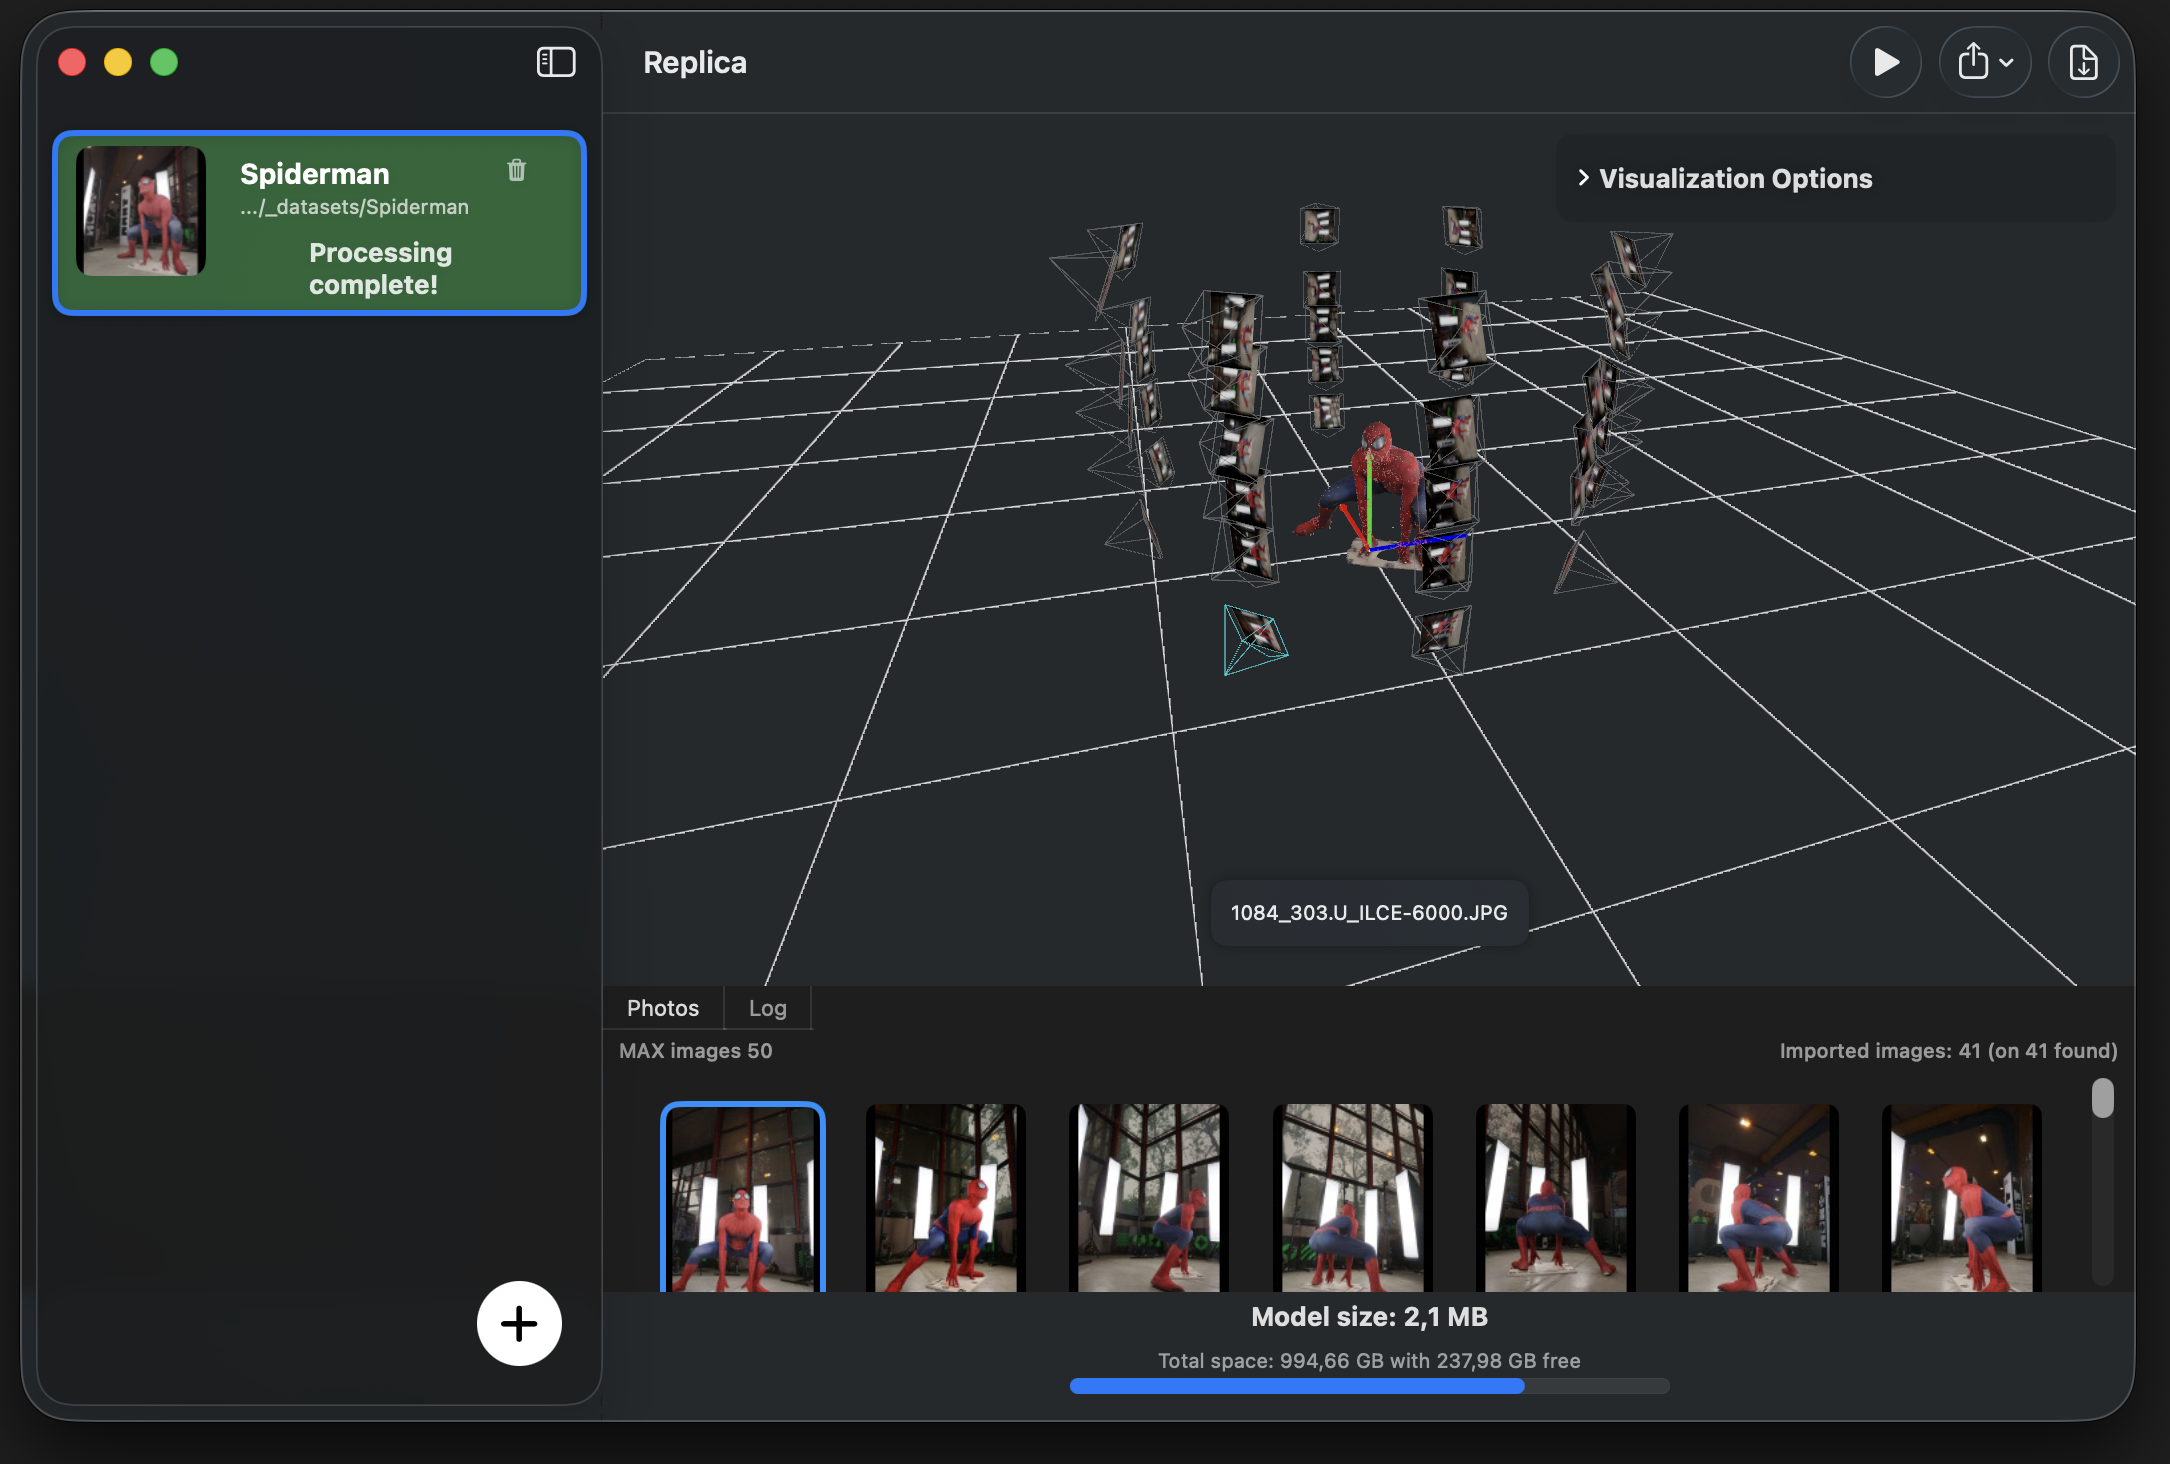
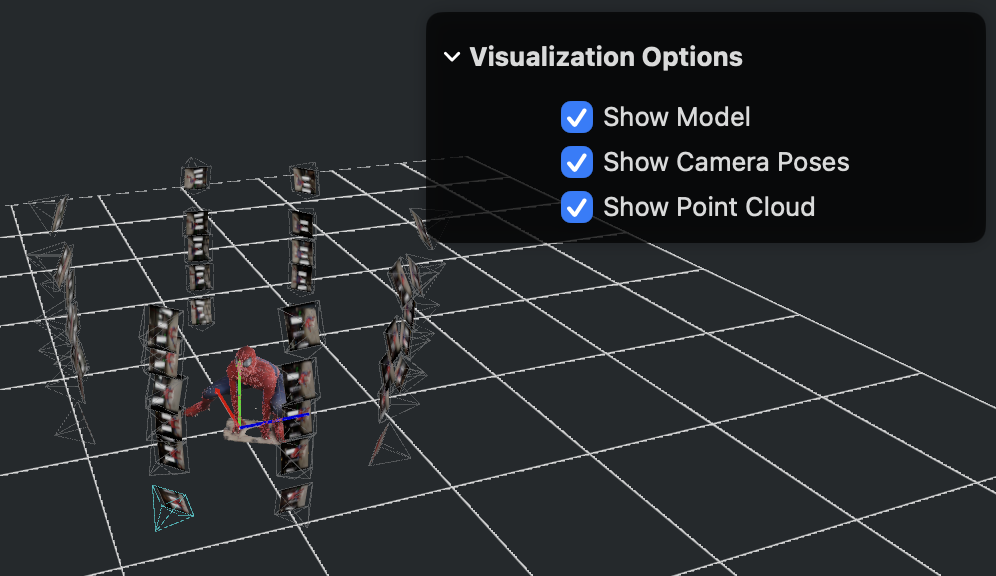
Funzionalità Aggiuntive del Visualizzatore:
-
Allineamento Posizione Camera: Fai doppio click su qualsiasi icona della fotocamera per agganciare la vista alla posizione e rotazione di quella fotocamera. Questo è utile per confrontare la tua ricostruzione con le foto originali.
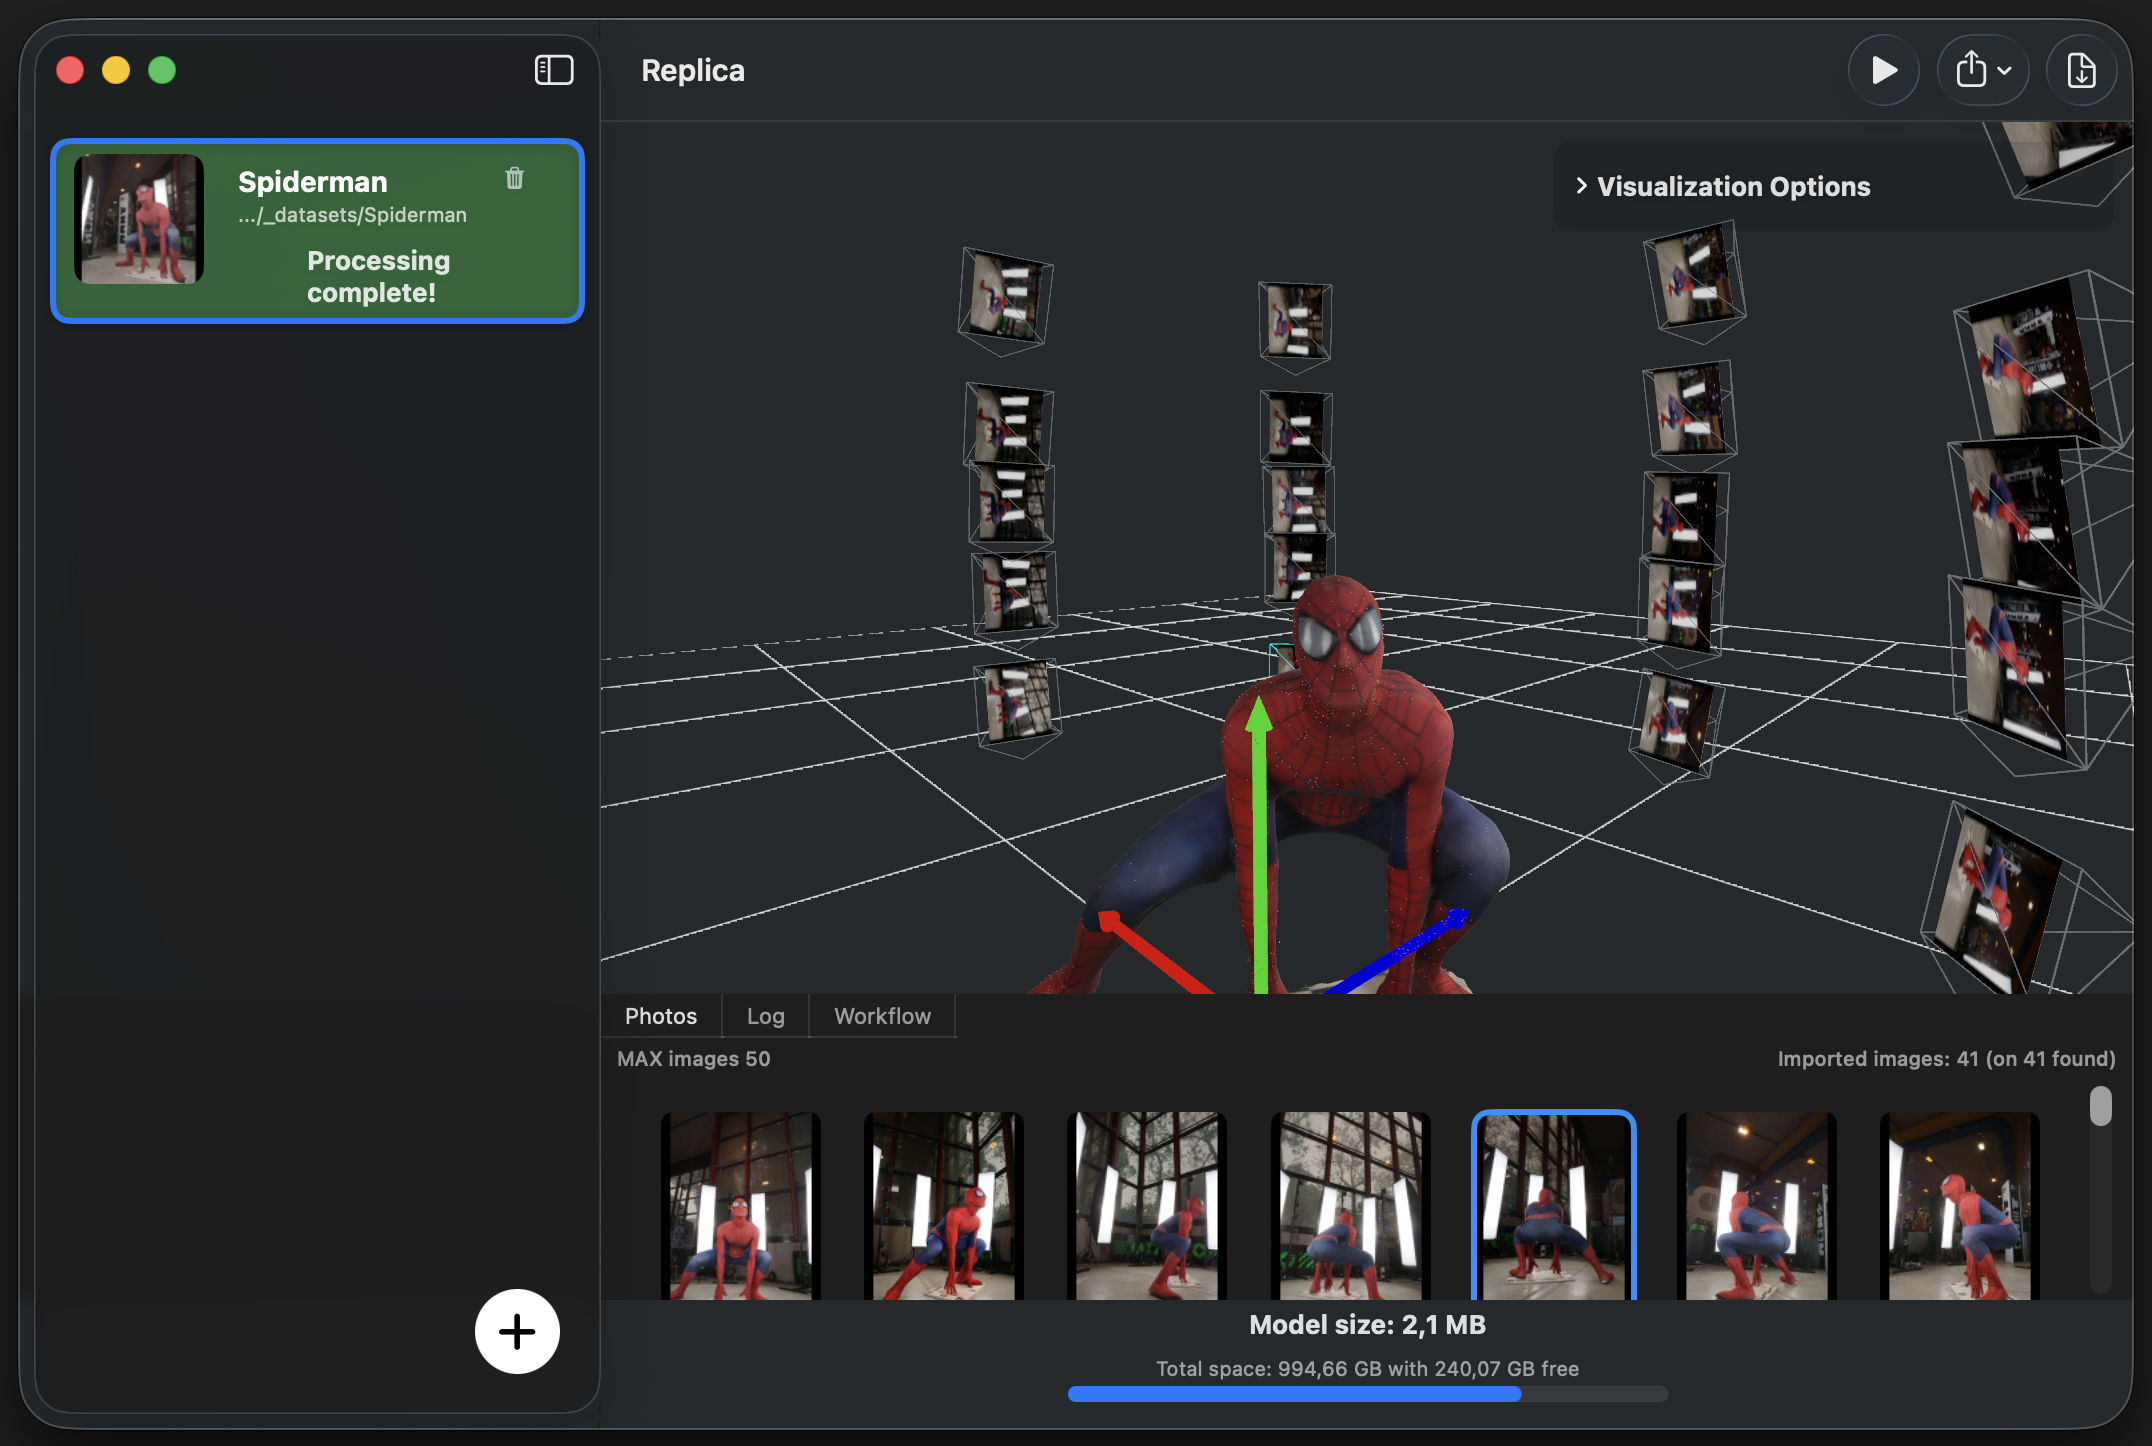
-
Controlli di Visibilità: Attiva/disattiva la visibilità di diversi elementi usando il menu delle opzioni di visualizzazione:
- Modello - La mesh 3D finale
- Nuvola di Punti - La ricostruzione densa
- Fotocamere - Posizioni di scatto delle foto
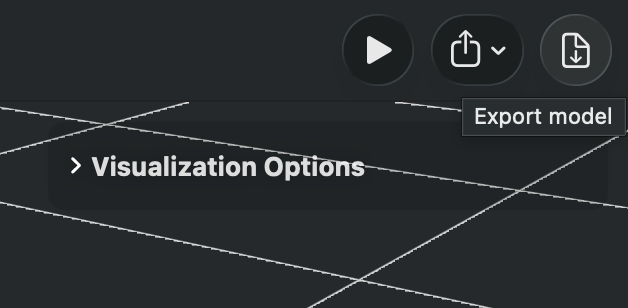
Esportare il Tuo Modello
Replica supporta diversi formati di esportazione per adattarsi al tuo flusso di lavoro.
Esportazione Predefinita (USDZ)
Per impostazione predefinita, il tuo modello viene esportato automaticamente in formato USDZ in una sottocartella accanto alle tue immagini sorgente. I file USDZ sono:
- Nativi per i dispositivi Apple
- Visualizzabili in AR Quick Look
- Compatibili con Reality Composer
- Nessun software aggiuntivo richiesto
Formati di Esportazione Avanzati
Per esportare in formati aggiuntivi (OBJ, FBX, GLB), è necessario installare Blender.
Configurazione Integrazione Blender
Replica cerca automaticamente Blender nel percorso di installazione predefinito. Se Blender non viene trovato automaticamente, puoi configurarlo manualmente:
-
Apri Impostazioni
Accedi alle impostazioni dell'applicazione dalla barra dei menu in alto.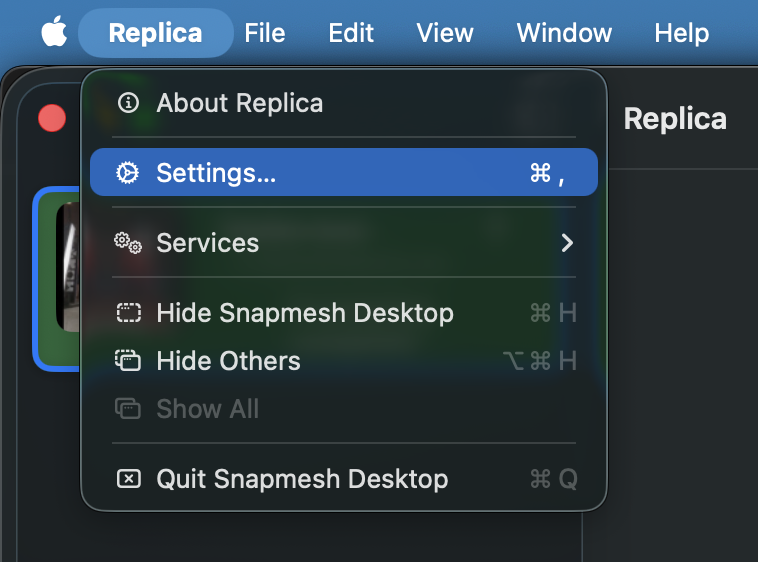
-
Configura Percorso Blender
Sfoglia e seleziona la posizione del tuo eseguibile di Blender.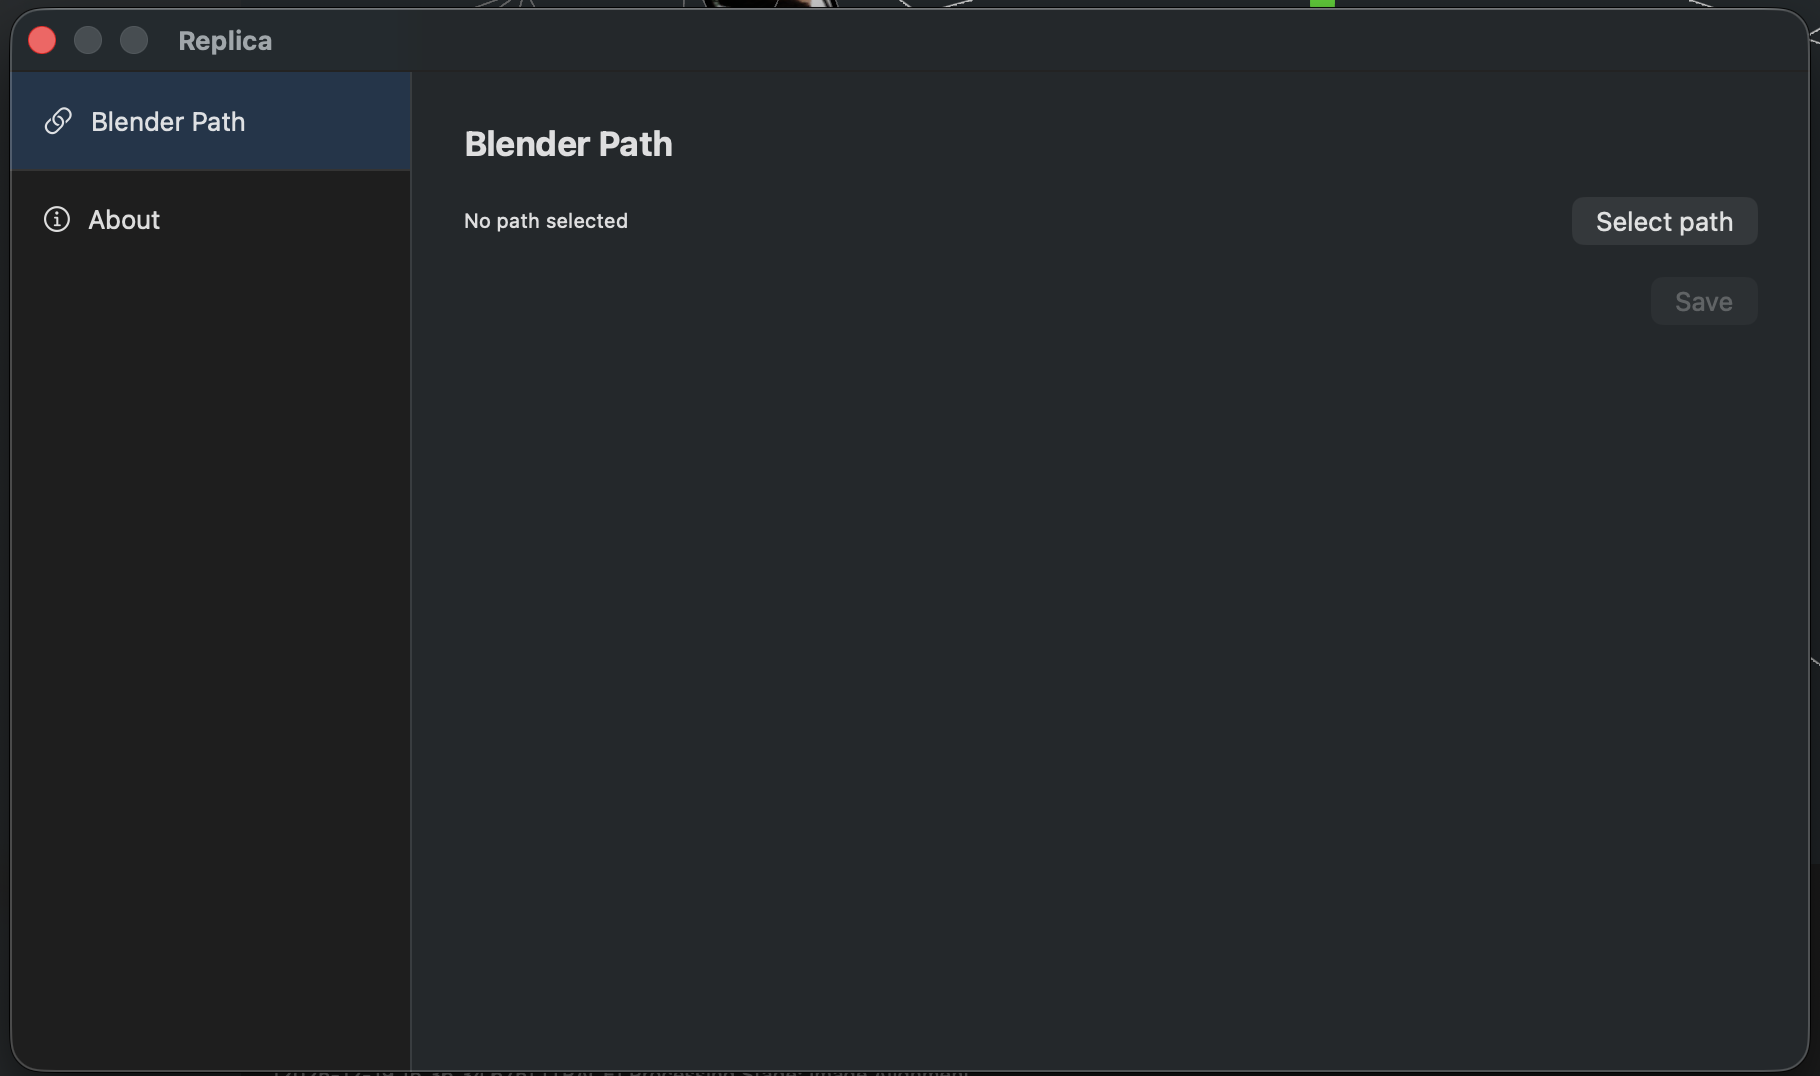
Una volta configurato Blender, puoi esportare in tutti i formati supportati usando il pulsante Export:
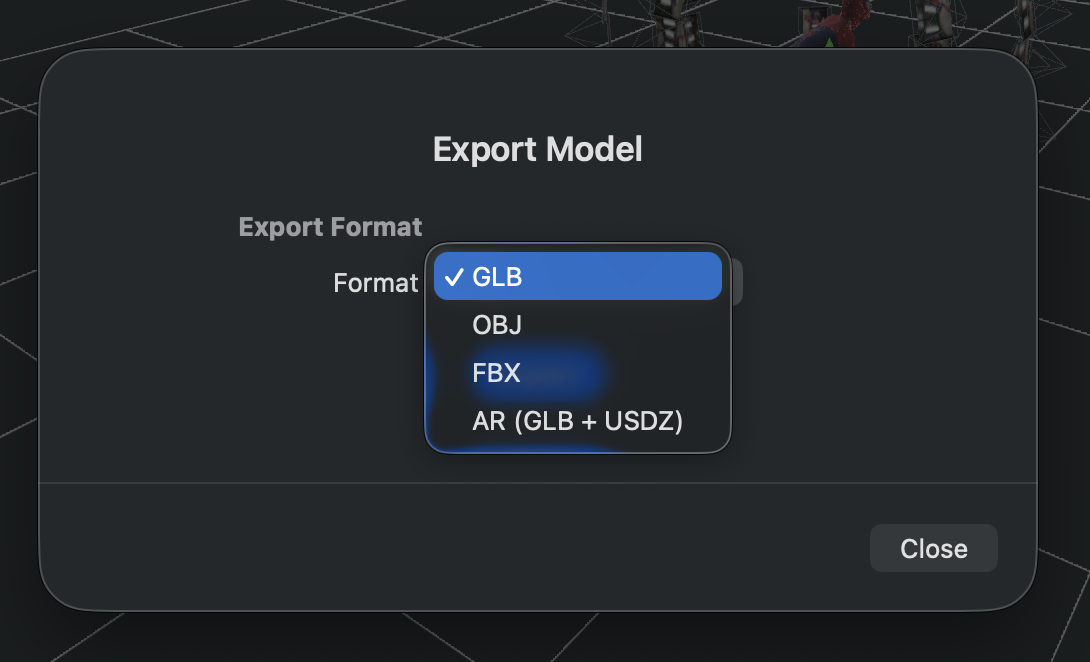
Guida ai Formati di Esportazione:
- USDZ - Ecosistema Apple, applicazioni AR (predefinito, non richiede Blender)
- OBJ - Formato universale, ampiamente supportato dai software 3D
- FBX - Pronto per l'animazione, ideale per motori di gioco (Unity, Unreal)
- GLB - Ottimizzato per il web, perfetto per Three.js e visualizzatori web
Risoluzione dei Problemi
Problema: L'elaborazione richiede troppo tempo
- Prova a usare il preset "Quick" per un'anteprima più veloce
- Riduci il numero di immagini in input
- Chiudi altre applicazioni che consumano molta memoria
Problema: Il modello ha buchi o sezioni mancanti
- Assicura un'adeguata copertura fotografica di tutte le superfici
- Controlla che le foto abbiano sufficiente sovrapposizione (60-80%)
- Usa un'illuminazione costante per evitare ombre
- Considera di rifotografare le aree problematiche
Problema: L'esportazione fallisce
- Verifica che Blender sia installato correttamente e il percorso sia corretto
- Controlla di avere spazio sufficiente su disco
- Assicura i permessi di scrittura per la cartella di destinazione
Problema: Non riesco a visualizzare correttamente le texture del mio file OBJ in Blender
- Apri l'editor dei nodi (Shader Editor) e individua il nodo Normal Map.
- Cambia il metodo di calcolo dal menu a tendina da "Tangent Space" a "Object Space".
Prossimi Passi
Ora che hai creato il tuo primo modello, esplora queste funzionalità aggiuntive:
-
Configurazione della Sessione - Scopri tutti i parametri che puoi configurare per le tue sessioni di fotogrammetria, inclusi preset di qualità, impostazioni della mesh, risoluzione delle texture e opzioni di ottimizzazione hardware.
-
Flussi di Lavoro (Workflows) (Solo utenti Pro) - Scopri come creare sequenze di operazioni automatizzate che possono essere applicate ai tuoi modelli generati prima dell'esportazione. I flussi di lavoro ti permettono di impostare trasformazioni automatiche come rotazione, ridimensionamento, regolazioni di offset e altro, ottimizzando la tua pipeline di produzione.
-
Operazioni Refine (Solo utenti Pro) - Impara ad applicare trasformazioni di georeferenziazione precise al modello usando i metadati GPS incorporati nelle immagini drone. Allinea, ruota e scala automaticamente il modello in base alle coordinate reali.
Hai Bisogno di Aiuto?
Visita i forum della community di Replica per supporto e consigli da altri utenti.
Buona scansione! 🚀